Follow Me On Social Media!
Step right up for a delightful treat that will have your taste buds dancing with joy – introducing Banana Pudding Cheesecake Cones! These portable, fun-to-eat delights bring together the beloved flavors of banana pudding and creamy cheesecake in a playful waffle cone. Perfect for parties, gatherings, or just a special family dessert, these Banana Pudding Cheesecake Cones are sure to steal the show.
I stumbled upon this recipe last summer when searching for a unique treat for my daughter’s party, and it was an instant hit with both kids and adults. The combination of creamy cheesecake and nostalgic banana pudding flavors in a convenient cone form had everyone coming back for seconds. These Banana Pudding Cheesecake Cones are not only delicious but also easy to make, with minimal prep time and a big payoff in flavor. Whether you’re a banana pudding enthusiast or a cheesecake lover, these cones offer the best of both worlds in every delightful bite.
Quick Benefits
- Rich and creamy texture combining the best of cheesecake and banana pudding flavors
- Portable and mess-free dessert option for parties and gatherings
- Easily customizable with various flavor twists and toppings for different occasions
- Quick and easy assembly with make-ahead components for convenient preparation and serving
Why You’ll Love This Delicious Banana Pudding Cheesecake Cones Recipe
- Irresistible Flavor Combination: Combines the nostalgic flavor of banana pudding with creamy cheesecake elements, creating a unique and delicious treat.
- Portable and Fun: Perfect for parties or gatherings where you want a dessert that doesn’t require plates or forks. The waffle cones make them easy to hold and eat on the go.
- Surprisingly Easy to Make: Despite looking fancy, these cones come together quickly in less than 30 minutes, making them a great option for last-minute dessert needs.
- Kid-Friendly: Kids love the fun presentation and can even customize their cones with a toppings bar, making them a hit at children’s parties.
- Versatile: Offers multiple flavor variations to suit different tastes and occasions, such as chocolate-banana, tropical coconut, or fall-inspired pumpkin.
- Emotional Connection: People of all ages will be delighted by the unexpected twist on familiar flavors, making them a memorable dessert for special occasions.
- Convenient Storage and Transport: Components can be prepared ahead of time, stored separately, and assembled just before serving. Transporting them in a cupcake carrier ensures they arrive intact and upright.
Ingredients for Delicious Banana Pudding Cheesecake Cones
- Vanilla wafers – They add that essential crunch and classic banana pudding flavor. Crushing them by hand rather than in a processor gives you some variety in texture.
- Waffle cones – Look for ones that feel fresh and crisp. The stale ones will get soggy much faster.
- Instant banana pudding mix – This creates that authentic banana pudding flavor we all love from childhood. The instant variety works better than cook-and-serve for this recipe.
- Cream cheese – Use the block-style, full-fat version for the richest flavor and best texture. Let it sit out for at least an hour to truly soften.
- Heavy cream – Make sure it’s very cold before whipping for the best volume and texture.
How to Make Delicious Banana Pudding Cheesecake Cones
Step 1: Prepare the Cheesecake Filling
In a bowl, cream together cream cheese, powdered sugar, and vanilla extract until smooth. Fold in whipped cream gently until fully combined, then transfer to a piping bag.
Step 2: Make the Banana Pudding Layer
In a different bowl, combine the banana pudding mix and cold milk until thickened. Chill in the refrigerator for 5 minutes.
Step 3: Assemble the Cones
Evenly spread crushed vanilla wafers in the bottom of each waffle cone. Layer the cheesecake filling and banana pudding alternately until the cone is full.
Step 4: Add the Topping
Pipe cheesecake filling onto each cone, drizzle with caramel sauce or sweetened condensed milk, and sprinkle crushed vanilla wafers on top.
Step 5: Serve & Enjoy
Refrigerate the cones for a minimum of 15 minutes before serving to firm up the layers.
📌 Pin for later!

Storage Tips
Once you have assembled the banana pudding cheesecake cones, it is best to serve them within four hours for the optimal texture and taste. If you need to store them for later consumption, it is recommended to prepare and store the components separately in the refrigerator. Keep the cheesecake mixture and pudding in separate airtight containers, and store the crushed wafers in a zip-top bag. These filling components can be refrigerated for up to two days. If you plan to serve them the next day, consider dipping the inside of each cone with melted white chocolate and allowing it to harden completely to help maintain the crispness of the waffle cones.
When transporting the banana pudding cheesecake cones to a gathering, it is advisable to use a cupcake carrier with the individual wells lined with crumpled foil to hold the cones upright during transit. For younger children or easier handling, consider using smaller cake cones with flat bottoms. Additionally, if you wish to add fresh banana slices between the layers for extra flavor, it is best to do so right before serving, as they tend to brown quickly. These delightful treats are sure to be a hit at any event and can be customized with different flavors and toppings to suit various preferences.
Ingredient Substitutions
For a dairy-free version of this recipe, you can substitute the cream cheese with a vegan cream cheese alternative. Look for one that has a similar consistency to regular cream cheese for the best results. You can also use coconut cream in place of heavy cream for a tropical twist. Just ensure the coconut cream is very cold before whipping it up to achieve the desired texture.
If you want to make a gluten-free version of these banana pudding cheesecake cones, opt for gluten-free vanilla wafers and gluten-free waffle cones. Many brands offer gluten-free versions of these products that can be easily swapped in. Additionally, to make this recipe nut-free, consider using a different type of crunchy cookie in place of the vanilla wafers, such as a gluten-free oat-based cookie or a shortbread cookie. This substitution will provide a similar texture and flavor without the use of nuts.
Serving Suggestions
For a fun and visually appealing presentation of the Banana Pudding Cheesecake Cones, arrange them in a decorative flower pot filled with dried beans or rice to help them stand upright. Place a small sign or label in the pot describing the dessert, adding a charming touch to your dessert table. This setup is perfect for garden parties or outdoor picnics, adding a whimsical element to your presentation.
To elevate the flavor profile of the Banana Pudding Cheesecake Cones, sprinkle a pinch of cinnamon or nutmeg on top of the whipped cream just before serving. The warm spices will complement the banana and cheesecake flavors beautifully, adding a cozy and aromatic twist to this delightful dessert. Additionally, serve the cones on a bed of crushed vanilla wafers for added crunch and a decorative touch that ties back to the classic banana pudding flavor profile.
FAQs for Delicious Banana Pudding Cheesecake Cones
Can I use low-fat cream cheese for this recipe?
For the best flavor and texture, it’s recommended to use full-fat block-style cream cheese. Low-fat versions may not provide the richness needed for the cheesecake element of the dessert.
Can I make these banana pudding cheesecake cones ahead of time?
While it’s best to assemble these treats no more than four hours before serving for optimal texture, you can prepare the components separately and store them in the refrigerator. The cheesecake mixture and pudding can be stored in separate airtight containers, while the crushed wafers can be kept in a zip-top bag. Assemble the cones just before serving for the crispiest results.
How can I transport these banana pudding cheesecake cones to a gathering?
A cupcake carrier works well for transporting these cones. Line the individual wells with crumpled foil to hold the cones upright during transit. This helps maintain their shape and prevents them from getting squished or tilted.
Can I add any variations to the recipe to customize the flavors?
Yes, you can customize these banana pudding cheesecake cones with various flavor variations. For example, you can try using chocolate waffle cones for a different twist or add a teaspoon of coconut extract to the cheesecake mixture for a tropical flavor. Feel free to experiment with different pudding flavors, toppings, or mix-ins to create unique variations of this dessert.
Conclusion
Whether you’re looking for a show-stopping dessert for a special occasion or just a sweet treat to enjoy with loved ones, Banana Pudding Cheesecake Cones are sure to delight all who try them. The combination of creamy cheesecake and nostalgic banana pudding flavors in a convenient cone form is a real crowd-pleaser.
Don’t be intimidated by the impressive appearance of these cones – they’re surprisingly easy to put together and can be customized to suit any taste preferences. Experiment with different variations like chocolate waffle cones or tropical coconut additions to keep things exciting. The versatility of this recipe makes it perfect for any season or event.
So, get creative in the kitchen and whip up a batch of these Banana Pudding Cheesecake Cones to share the joy of indulging in a delightful treat that’s as fun to make as it is to eat. Your friends and family will thank you for introducing them to this unique and delicious dessert that’s bound to become a new favorite!
📌 Pin for later!
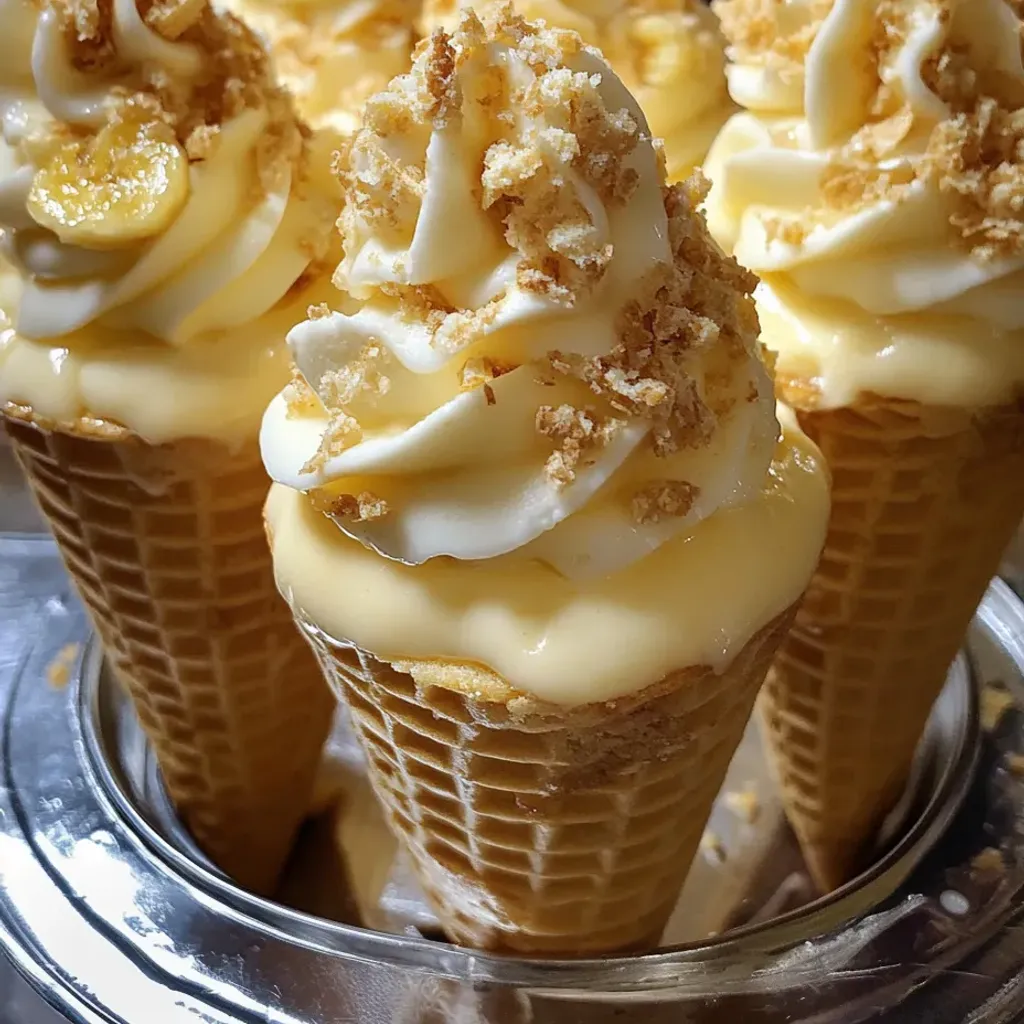
Delicious Banana Pudding Cheesecake Cones
Creamy banana pudding cheesecake nestled in crisp waffle cones, a portable treat that marries nostalgia with a modern twist, perfect for any occasion.
Prep Time25 Minutes
Cook Time~ undefined
Total Time25 Minutes
CuisineAmerican
Skill LevelEasy
Servings8 Servings (8 cones)
Ingredients
- Vanilla wafers – They add that essential crunch and classic banana pudding flavor. Crushing them by hand rather than in a processor gives you some variety in texture.
- Waffle cones – Look for ones that feel fresh and crisp. The stale ones will get soggy much faster.
- Instant banana pudding mix – This creates that authentic banana pudding flavor we all love from childhood. The instant variety works better than cook-and-serve for this recipe.
- Cream cheese – Use the block-style, full-fat version for the richest flavor and best texture. Let it sit out for at least an hour to truly soften.
- Heavy cream – Make sure it’s very cold before whipping for the best volume and texture.
Instructions
-
Prepare the Cheesecake Filling: In a bowl, cream together cream cheese, powdered sugar, and vanilla extract until smooth. Fold in whipped cream gently until fully combined, then transfer to a piping bag.
-
Make the Banana Pudding Layer: In a different bowl, combine the banana pudding mix and cold milk until thickened. Chill in the refrigerator for 5 minutes.
-
Assemble the Cones: Evenly spread crushed vanilla wafers in the bottom of each waffle cone. Layer the cheesecake filling and banana pudding alternately until the cone is full.
-
Add the Topping: Pipe cheesecake filling onto each cone, drizzle with caramel sauce or sweetened condensed milk, and sprinkle crushed vanilla wafers on top.
-
Serve & Enjoy: Refrigerate the cones for a minimum of 15 minutes before serving to firm up the layers.