Follow Me On Social Media!
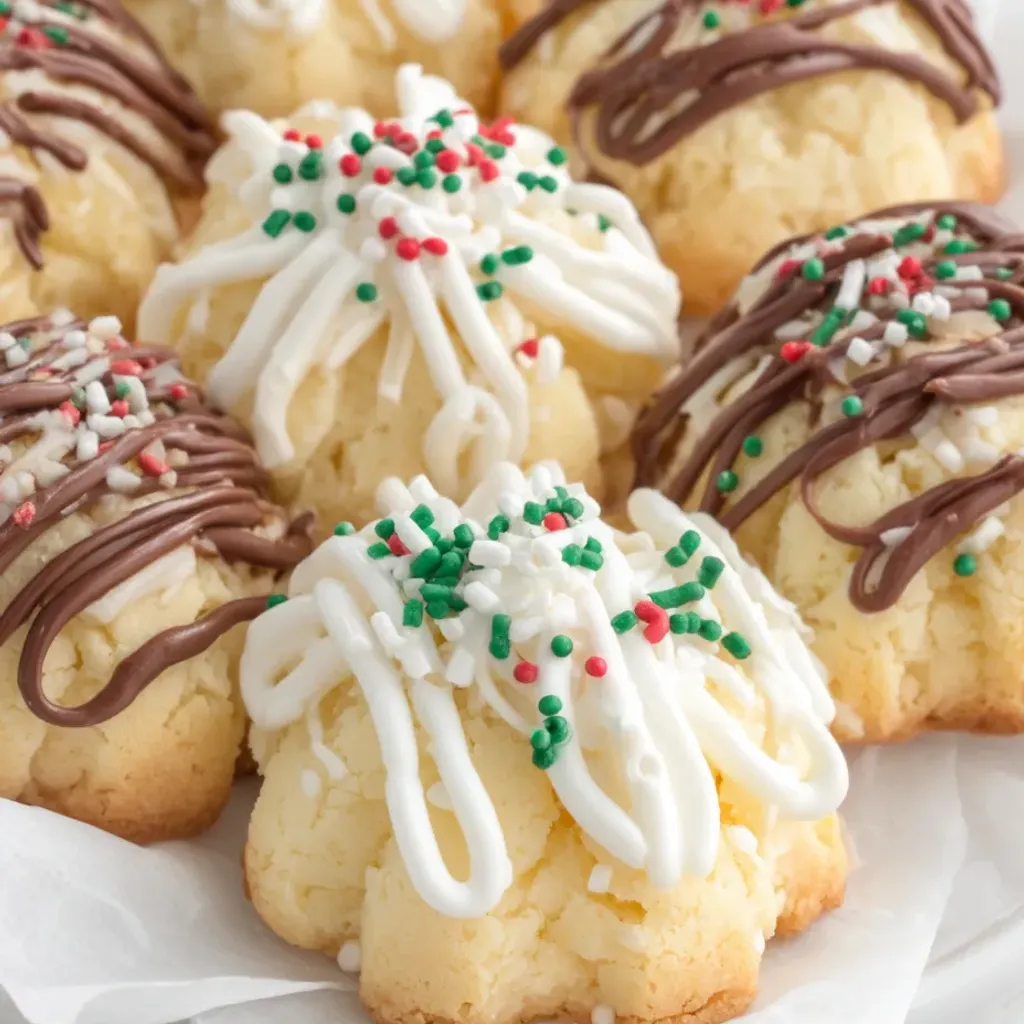
Indulge in the timeless charm of a Copenhagen bakery with the exquisite Danish Butter Cookies Classic. These delicate treats are a labor of love, crafted with high-quality butter, a hint of cornstarch, and a whisper of powdered sugar to achieve that perfect melt-in-your-mouth texture. Whether adorned with glossy dark chocolate or left elegantly simple, these cookies offer a sophisticated crunch that is pure buttery bliss.
Channeling the spirit of a traditional Danish pastry chef, I meticulously honed this recipe to capture the essence of those coveted forty-dollar imported tins. The secret lies in the 30-minute chill that ensures these cookies hold their shape and deliver that signature “snap” with each bite. Elevate your baking game by using rich European butter for a fragrant, professional touch that will transport you to a cozy pâtisserie in Copenhagen.
Embrace your inner baker and add a Scandinavian twist by incorporating almond extract or zesty lemon into the dough for a burst of flavor. Experiment with cocoa powder for a chocolatey variation or get creative with sandwiching fillings like raspberry jam or chocolate ganache. These cookies are not just a treat for the taste buds but also a feast for the eyes, making them an ideal gift or centerpiece for any festive gathering. So, grab your apron and dive into the enchanting world of Danish butter cookies—it’s a culinary adventure you’ll want to savor time and time again.
Quick Benefits
- Achieves a melt-in-your-mouth texture by using high-quality butter, cornstarch, and powdered sugar
- Versatile – can be piped into classic rosettes, dipped in chocolate, or customized with various flavors like almond, lemon, or cocoa
- Sturdy and long-lasting – stores well for up to 3 weeks at room temperature, can be frozen for up to 2 months, making them perfect for gifting or mailing in care packages
Why You’ll Love This Classic Danish Butter Cookies Recipe Recipe
- Luxurious Taste: These Danish butter cookies offer a rich, buttery bliss with a sophisticated crunch that melts in your mouth, capturing the timeless appeal of a Copenhagen bakery.
- Perfect Holiday Treat: These cookies are the ultimate holiday tin staple, making them perfect for festive coffee gatherings or afternoon tea.
- Professional Appearance: The cookies are elegant and refined, standing out for their professional appearance, making them ideal for gifting or impressing guests.
- Simple Ingredients, Big Flavor: With just a few basic pantry staples, these cookies turn into a genuine tradition that rivals the taste of expensive imported tins.
- Versatile Recipe: You can customize these cookies with different flavors such as almond extract, lemon zest, or cocoa powder for a unique twist, making them versatile and exciting to experiment with.
- Easy Storage and Travel: These cookies store well in an airtight container for up to 3 weeks and can be frozen for up to 2 months before adding the chocolate coating, making them perfect for care packages or long-term enjoyment.
- Rewarding Experience: Perfecting this recipe offers a sense of accomplishment and joy, as you transform simple ingredients into a luxurious treat that everyone will love.
Ingredients for Classic Danish Butter Cookies Recipe
For the Cookie Dough
- 1 teaspoon vanilla extract
- 160 g all-purpose flour (about 1 1/4 cups)
- 255 g unsalted butter, softened (about 1 cup plus 2 tablespoons)
- 8 g cornstarch (about 1 tablespoon)
- 30 g powdered sugar (about 1/4 cup)
- 1 to 2 teaspoons heavy cream, as needed
For Dipping (Optional)
- Colorful sprinkles for decorating
- 170 g dark chocolate chips or chocolate almond bark, melted (about 1 cup)
- 170 g white chocolate chips or white almond bark, melted (about 1 cup)
How to Make Classic Danish Butter Cookies Recipe
Step 1: Prep the Baking Sheet
Place parchment paper on a baking sheet to prevent cookies from sticking.
Step 2: Beat the Butter
In a medium bowl, beat softened butter until pale and creamy, about 2 to 3 minutes. Add powdered sugar and mix for an additional 2 minutes until light and fluffy. Stir in vanilla extract until well combined.
Step 3: Add the Dry Ingredients
Combine the flour and cornstarch with the butter mixture until a soft dough forms. Be careful not to overmix.
Step 4: Pipe the Cookies
Pipe the dough into desired shapes on a prepared baking sheet using a piping bag fitted with a large open star tip. Adjust the dough consistency by mixing in 1 to 2 teaspoons of heavy cream if needed.
Step 5: Chill the Dough
Chill the piped cookies in the fridge for 30 minutes to help them maintain their shape during baking. Preheat the oven to 175 degrees Celsius (350 degrees Fahrenheit) while the cookies are chilling.
Step 6: Bake the Cookies
Bake for 8 to 10 minutes until edges are lightly golden. Do not overbrown the tops. Cool completely on a wire rack.
Step 7: Melt the Chocolate
To melt chocolate or almond bark for dipping, heat it in a microwave-safe bowl in 20-second intervals, stirring between each one until smooth and melted. Avoid overheating to prevent the chocolate from seizing up.
Step 8: Dip and Decorate
Dip each cooled cookie halfway into melted chocolate, place on a parchment-lined tray, sprinkle with colorful sprinkles, and allow the chocolate to set completely before serving.
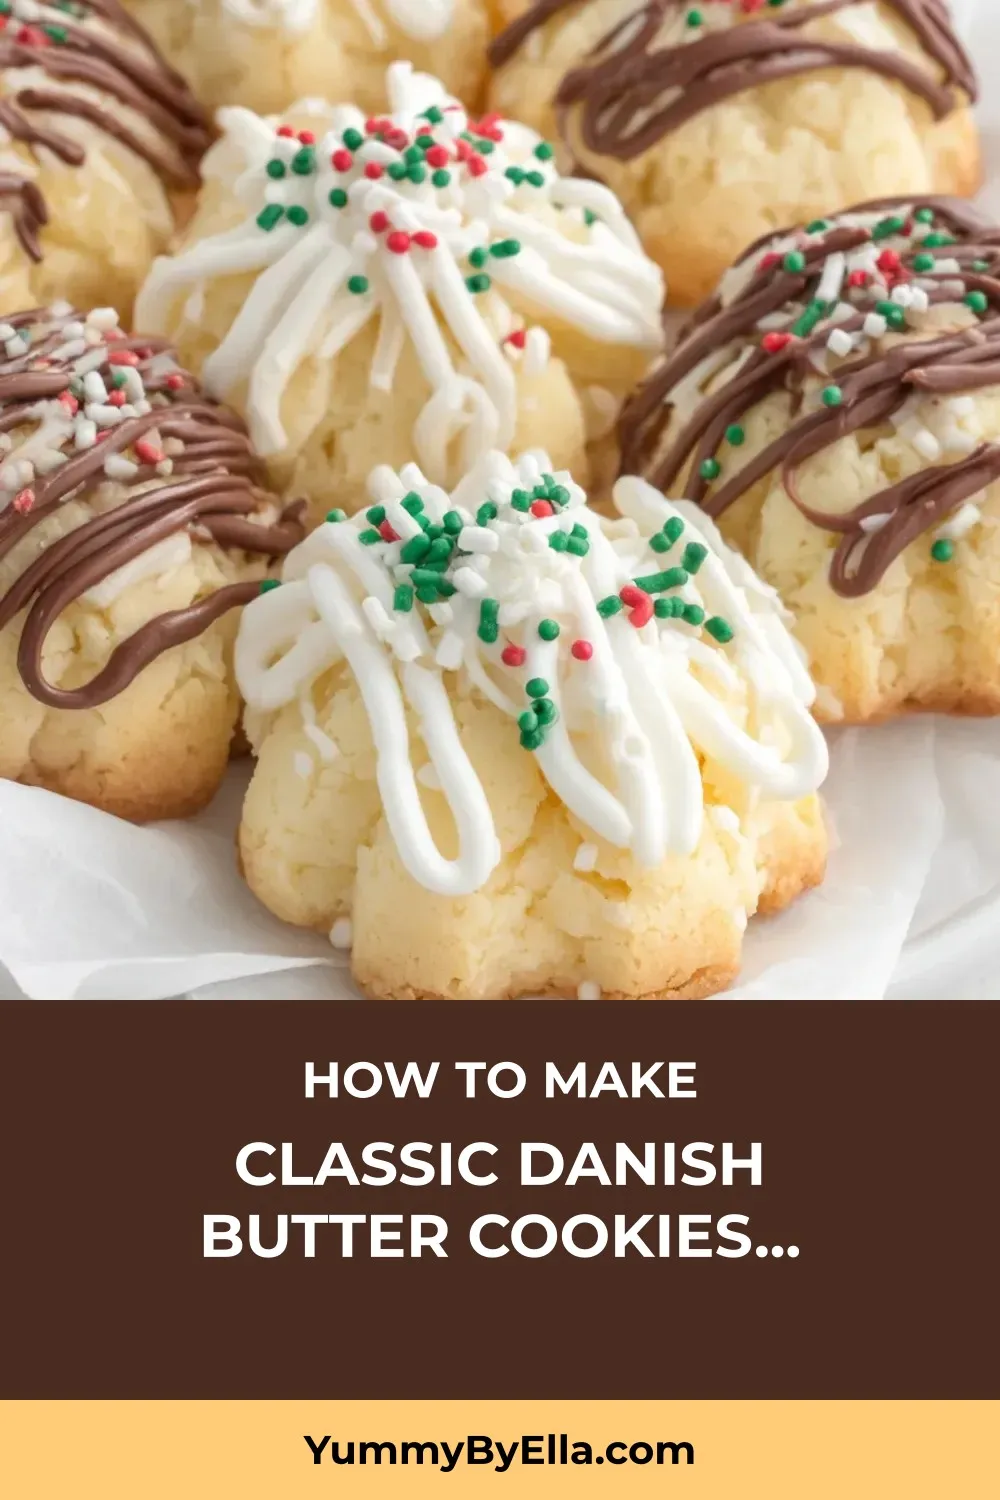
📌 Pin for later!
Storage Tips
Once you’ve prepared and enjoyed your Danish butter cookies, it’s important to store them correctly to maintain their flavor and texture. To keep these delicate treats fresh and delicious, store them in an airtight container at room temperature. Properly stored, the cookies can last for up to 3 weeks. Their sturdy nature makes them ideal for mailing in care packages or sharing as gifts during the holiday season.
If you find yourself with extra cookies or would like to save some for later, you can freeze the undipped cookies for up to 2 months. Simply place them in a freezer-safe container or bag and store them until you’re ready to enjoy them again. When you’re ready to indulge in these buttery delights, allow them to thaw at room temperature before adding any chocolate coating or decorations. This method ensures that your Danish butter cookies will taste just as delightful as when they were first baked.
Ingredient Substitutions
If you need to make a substitution for the butter in this recipe, opt for a high-quality margarine that contains a high fat content to mimic the richness of butter. Keep in mind that margarine typically has added water compared to butter, so the texture of the cookies may vary slightly. Additionally, if you prefer a dairy-free option, you can use a plant-based butter substitute like coconut oil or a vegan butter alternative.
If you don’t have cornstarch on hand, you can replace it with an equal amount of tapioca starch, arrowroot powder, or potato starch. These substitutes will help maintain the delicate texture of the cookies and prevent them from becoming too dense. Make sure to sift the alternative starch to ensure it blends smoothly with the flour.
For a creative twist, consider using different types of chocolate for dipping the cookies. Instead of dark and white chocolate chips, experiment with milk chocolate, semi-sweet chocolate, or even flavored chocolate like mint or orange. This variation can add a unique flavor profile to the cookies and make them even more enticing for different occasions.
Serving Suggestions
For a stunning presentation, arrange the Danish butter cookies in a decorative tin or box lined with parchment paper. Drizzle the dipped cookies with both dark and white chocolate, creating a beautiful marble effect, and sprinkle with colorful sprinkles for a festive touch. Serve these elegant treats on a tiered dessert stand at your next holiday gathering for a sophisticated touch that will impress your guests.
To elevate the flavor profile of the Danish butter cookies, experiment with different fillings and toppings. Sandwich two cookies together with a layer of raspberry jam or chocolate ganache for a decadent twist on the classic recipe. You can also dust the cookies with a mixture of powdered sugar and cocoa powder or finely grated lemon zest for added depth of flavor. These creative variations will add an extra layer of indulgence to your homemade Danish butter cookies and make them truly unforgettable.
FAQs for Classic Danish Butter Cookies Recipe
Can I use salted butter instead of unsalted butter?
It’s recommended to use unsalted butter in this recipe to have better control over the salt content. If you only have salted butter on hand, you can use it but consider reducing the additional salt in the recipe.
How do I prevent the cookies from spreading too much during baking?
Chilling the cookie dough for at least 30 minutes before baking helps the cookies maintain their shape and prevents excessive spreading. Be sure to follow this step for the best results.
Can I substitute the cornstarch with another ingredient?
The cornstarch plays a crucial role in creating the delicate, melt-in-your-mouth texture of these Danish butter cookies. It’s not recommended to substitute it with another ingredient as it contributes to the cookie’s desired consistency.
How should I store the dipped cookies with chocolate coating?
After dipping the cookies in melted chocolate, allow them to set completely at room temperature before storing them in an airtight container. Layer parchment paper between the cookies to prevent them from sticking together. Store the chocolate-coated cookies at room temperature for up to 1-2 weeks.
Conclusion
In conclusion, mastering the art of Danish Butter Cookies Classic is a delightful journey that rewards both the baker and those lucky enough to taste these buttery delights. From their elegant appearance to their delicate texture, these cookies are sure to become a cherished tradition in your household, just like they have in mine. So take the time to perfect this recipe, allow the dough to chill, and savor the process of creating something truly special.
Whether you’re baking these cookies for a festive gathering, as a thoughtful gift, or simply to treat yourself to a taste of Copenhagen, the Danish Butter Cookies Classic recipe is a timeless classic that never fails to impress. So roll up your sleeves, preheat your oven, and let the aroma of high-quality butter and vanilla fill your kitchen as you embark on a delicious baking adventure. Enjoy every moment of making and savoring these exquisite cookies—they are truly a labor of love that is well worth the effort.
📌 Pin for later!
Classic Danish Butter Cookies Recipe
Elevate your holiday baking with these Danish Butter Cookies Classic, a melt-in-your-mouth treat inspired by the elegance of Copenhagen bakeries.
Prep Time25 Minutes
Cook Time10 Minutes
Total Time35 Minutes
CuisineDanish
Skill LevelEasy
Servings24 Servings (24 cookies)
Ingredients
For the Cookie Dough
- 1 teaspoon vanilla extract
- 160 g all-purpose flour (about 1 1/4 cups)
- 255 g unsalted butter, softened (about 1 cup plus 2 tablespoons)
- 8 g cornstarch (about 1 tablespoon)
- 30 g powdered sugar (about 1/4 cup)
- 1 to 2 teaspoons heavy cream, as needed
For Dipping (Optional)
- Colorful sprinkles for decorating
- 170 g dark chocolate chips or chocolate almond bark, melted (about 1 cup)
- 170 g white chocolate chips or white almond bark, melted (about 1 cup)
Instructions
-
Prep the Baking Sheet: Place parchment paper on a baking sheet to prevent cookies from sticking.
-
Beat the Butter: In a medium bowl, beat softened butter until pale and creamy, about 2 to 3 minutes. Add powdered sugar and mix for an additional 2 minutes until light and fluffy. Stir in vanilla extract until well combined.
-
Add the Dry Ingredients: Combine the flour and cornstarch with the butter mixture until a soft dough forms. Be careful not to overmix.
-
Pipe the Cookies: Pipe the dough into desired shapes on a prepared baking sheet using a piping bag fitted with a large open star tip. Adjust the dough consistency by mixing in 1 to 2 teaspoons of heavy cream if needed.
-
Chill the Dough: Chill the piped cookies in the fridge for 30 minutes to help them maintain their shape during baking. Preheat the oven to 175 degrees Celsius (350 degrees Fahrenheit) while the cookies are chilling.
-
Bake the Cookies: Bake for 8 to 10 minutes until edges are lightly golden. Do not overbrown the tops. Cool completely on a wire rack.
-
Melt the Chocolate: To melt chocolate or almond bark for dipping, heat it in a microwave-safe bowl in 20-second intervals, stirring between each one until smooth and melted. Avoid overheating to prevent the chocolate from seizing up.
-
Dip and Decorate: Dip each cooled cookie halfway into melted chocolate, place on a parchment-lined tray, sprinkle with colorful sprinkles, and allow the chocolate to set completely before serving.