Follow Me On Social Media!
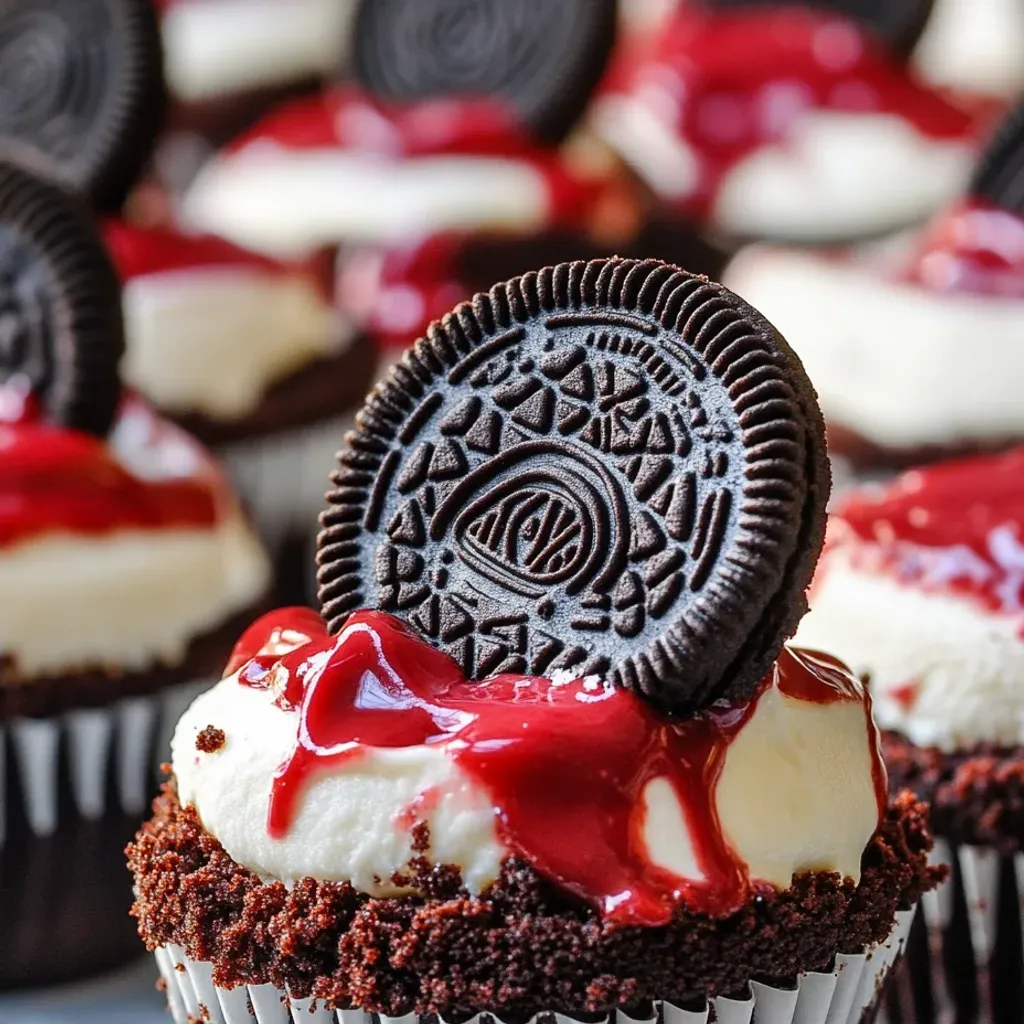
Indulge in the delightful world of desserts with these irresistible Mini Red Velvet Oreo Cheesecakes! Perfect for any occasion, these little treats pack a big punch of flavor and charm. Picture this: a rich fudgy brownie base, a hidden Oreo surprise waiting to be discovered, and a luscious red velvet cheesecake layer that’s as vibrant as it is decadent. These mini cheesecakes are not just a feast for the taste buds but also a feast for the eyes, especially when adorned with swirls of whipped cream and delicate chocolate shavings.
Crafted initially for a special birthday celebration, these Mini Red Velvet Oreo Cheesecakes have garnered a reputation as the star of the show at every gathering they grace. The individual portions make them ideal for sharing at parties, ensuring no messy cutting or serving dilemmas. Their irresistible allure has even won over self-proclaimed cheesecake skeptics, like my neighbor’s son, who couldn’t resist reaching for seconds and thirds. The magic of these cheesecakes lies not just in their taste but in the joy and excitement they bring to every table they grace. So, if you’re ready to impress your guests and create lasting memories, it’s time to whip up a batch of these Mini Red Velvet Oreo Cheesecakes and watch them disappear before your eyes!
Quick Benefits
- Perfect for Parties: Individual portions make them easy to serve without any cutting or serving issues, making them ideal for gatherings and parties.
- Crowd-Pleasing Flavor: The combination of fudgy brownie base, hidden Oreo surprise, and vibrant red velvet cheesecake layer is a hit with both adults and kids.
- Adaptable and Creative: The recipe allows for variations like using different Oreo flavors, adding chocolate chips, or incorporating seasonal twists, making it versatile and perfect for experimentation.
- Make-Ahead and Freezer-Friendly: These mini cheesecakes can be stored in the refrigerator for up to five days and frozen for up to three months, allowing for easy prep ahead of time for events or gatherings.
Why You’ll Love This Decadent Mini Red Velvet Oreo Cheesecakes Recipe
- Irresistible Flavor Combination:
- Perfect for Parties:
- Adorable Presentation:
- Crowd-Pleasing Dessert:
- Versatile and Customizable:
- Make-Ahead and Freezer-Friendly:
- Forgiving Recipe:
- Rave Reviews Guaranteed:
Ingredients for Decadent Mini Red Velvet Oreo Cheesecakes
For the Oreo Brownie Crust
- 1 egg, room temperature
- 1/4 cup unsalted butter, melted
- 1/2 cup granulated sugar
- Pinch of salt
- 12 Oreo cookies
- 3 tablespoons all-purpose flour
- 1/2 teaspoon vanilla extract
- 1/2 cup cocoa powder
For the Red Velvet Cheesecake
- 1/2 teaspoon vanilla extract
- Red gel food coloring
- 1 egg, room temperature
- 1 tablespoon cocoa powder
- 1/4 cup granulated sugar
- 8 oz cream cheese, room temperature
- 1/4 cup sour cream, room temperature
For the Topping
- 8 oz Cool Whip, thawed
- Chocolate shavings
How to Make Decadent Mini Red Velvet Oreo Cheesecakes
Step 1: Prepare for baking
Preheat the oven to 350°F (175°C) and line a 12-cup standard cupcake tin with paper liners.
Step 2: Make the brownie batter
Combine flour, cocoa powder, and salt in a medium bowl. In a large bowl, whisk sugar and egg until pale. Mix in melted butter and vanilla extract, then stir in dry ingredients until well combined.
Step 3: Form the brownie base
Spoon the brownie batter into the lined cupcake tin and spread it evenly in each cup using the back of a spoon.
Step 4: Pre-bake the brownie crust
Bake the brownie crust at 350°F for 5 minutes, then reduce the oven temperature to 325°F.
Step 5: Add the Oreo cookies
After the brownie bases have cooled, press one Oreo cookie into the center of each cup.
Step 6: Prepare the red velvet cheesecake mixture
In a large bowl, cream together the cream cheese and sugar until smooth. Mix in the egg, sour cream, and vanilla extract until combined. Add the cocoa powder and stir until incorporated. Slowly add red gel food coloring until the desired red velvet color is achieved. Use a rubber spatula to ensure thorough mixing.
Step 7: Add the cheesecake layer
Divide the red velvet cheesecake mixture evenly over the brownie crust and Oreo cookie in each cup, filling them almost to the top. Tap the pan on the counter a few times to smooth out the mixture and eliminate air bubbles.
Step 8: Bake the cheesecakes
Bake at 325°F for 15-18 minutes until the edges are set but the centers have a slight jiggle.
Step 9: Cool and chill
Cool the cheesecakes to room temperature, then refrigerate for at least 1 hour before serving.
Step 10: Add the topping
Place the thawed Cool Whip into a piping bag with a decorative nozzle. Pipe a swirl of Cool Whip on each mini cheesecake and top with chocolate shavings.
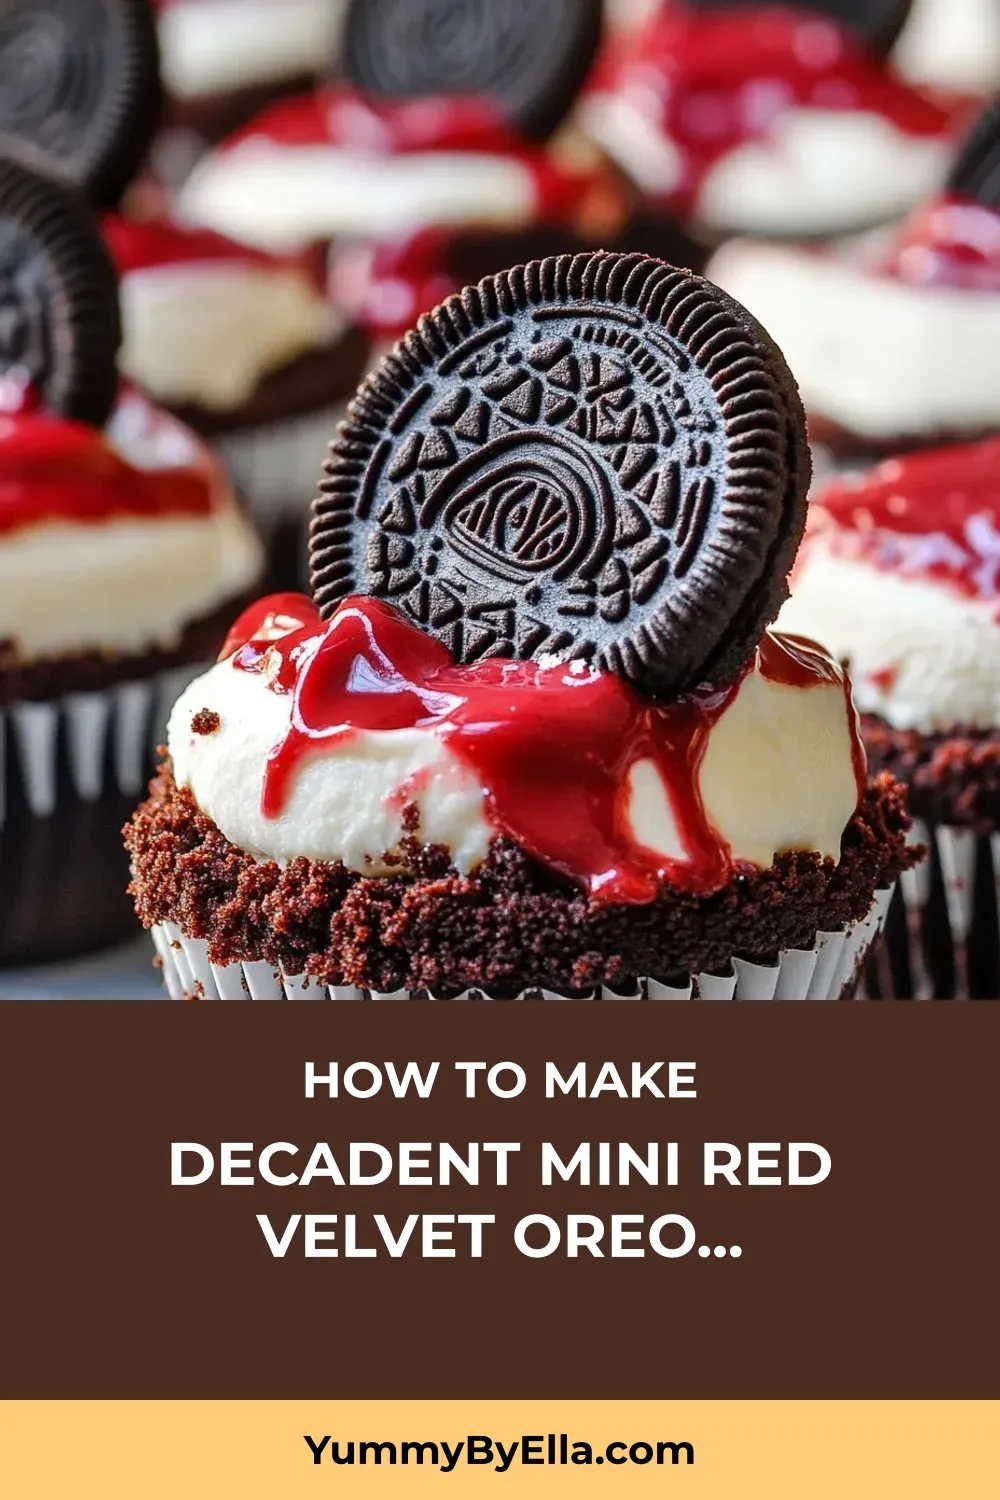
📌 Pin for later!
Storage Tips
Once you have made these delightful Mini Red Velvet Oreo Cheesecakes, storing them properly will help maintain their freshness. To store the finished dish, place the mini cheesecakes in an airtight container and keep them in the refrigerator. They will maintain their perfect texture for up to five days when stored this way. For the best results, wait to add the whipped topping and chocolate shavings until just before serving to ensure they stay fresh and visually appealing.
If you find yourself with extra mini cheesecakes or want to save some for later, these treats freeze beautifully. Place them in a single layer until frozen solid, then transfer them to a container with parchment paper between layers to prevent sticking. The frozen cheesecakes can be stored for up to three months. When you’re ready to enjoy them, simply thaw the cheesecakes overnight in the refrigerator before adding the final toppings. Following these storage tips will help you enjoy these delicious mini red velvet Oreo cheesecakes at their best, whether for a special occasion or a sweet treat any day of the week.
Ingredient Substitutions
For potential ingredient substitutions in the mini red velvet Oreo cheesecakes, consider the following options:
1. Oreo Cookies: You can switch out the classic Oreo cookies for other types of cookies or biscuits with a similar size and texture. Try using chocolate sandwich cookies, chocolate graham crackers, or even chocolate wafers as a tasty alternative.
2. Gel Food Coloring: If you prefer to avoid artificial food coloring or don’t have red gel coloring on hand, you can opt for natural alternatives like beet powder or raspberry puree to achieve a red hue. Keep in mind that natural colorings may affect the flavor slightly, so adjust accordingly.
3. Cool Whip: If you prefer not to use Cool Whip, you can substitute it with homemade whipped cream. Simply whip heavy cream with a bit of sugar until stiff peaks form. You can also explore flavored whipped creams like vanilla or cream cheese whipped topping for a different twist.
Feel free to experiment with these ingredient substitutions to suit your preferences or dietary needs while maintaining the delicious essence of these mini red velvet Oreo cheesecakes.
Serving Suggestions
Transform these mini red velvet Oreo cheesecakes into an elegant dessert by serving them on a tiered platter adorned with fresh berries and a sprinkle of edible gold glitter over the chocolate shavings. For a romantic touch, top each swirl of whipped cream with a small chocolate heart or chocolate-covered strawberry half. These beautiful and decadent treats will surely impress guests at any special occasion.
For a fun and creative twist on these mini cheesecakes, experiment with different flavored Oreos such as Golden Oreos or seasonal varieties to add unique flavors and colors. You can also mix in mini chocolate chips into the cheesecake batter for added texture, or incorporate a teaspoon of instant espresso powder into the brownie base for a richer taste. Try adding a sprinkle of cinnamon with pumpkin Oreos during the fall season or orange zest for a burst of citrusy brightness. The possibilities are endless for customizing these already irresistible mini red velvet Oreo cheesecakes to suit any taste preference or occasion.
FAQs for Decadent Mini Red Velvet Oreo Cheesecakes
Question?
Can I use regular Oreos instead of Red Velvet Oreos?
Question?
How do I store these mini red velvet Oreo cheesecakes?
Question?
Can I make these cheesecakes in advance and freeze them?
Question?
How long do these mini red velvet Oreo cheesecakes stay fresh for?
Conclusion
As you embark on your Mini Red Velvet Oreo Cheesecakes baking journey, remember that each batch is an opportunity to create joy and culinary magic for your loved ones. These adorable treats have a way of bringing smiles to faces and turning skeptics into believers, one delicious bite at a time. So don’t be afraid to get creative with your decorations or experiment with different flavor variations – the possibilities are endless, and the results are sure to delight.
Whether you’re preparing these Mini Red Velvet Oreo Cheesecakes for a special occasion or simply to satisfy a sweet craving, know that your efforts will be rewarded with the delightful taste of rich chocolate, velvety cheesecake, and a hint of nostalgia from the hidden Oreo surprise. So gather your ingredients, preheat your oven, and let the aroma of baking goodness fill your kitchen. Before you know it, you’ll be savoring these miniature delights and basking in the joy of sharing your culinary creations with those around you. Happy baking, and may your Mini Red Velvet Oreo Cheesecakes always be a beacon of sweetness in your life!
📌 Pin for later!
Decadent Mini Red Velvet Oreo Cheesecakes
Indulge in the magic of fudgy brownie bases, hidden Oreo surprises, and vibrant red velvet cheesecake layers with these adorable Mini Red Velvet Oreo Cheesecakes.
Prep Time20 Minutes
Cook Time18 Minutes
Total Time38 Minutes
CuisineAmerican
Skill LevelEasy
Servings12 Servings (12 mini cheesecakes)
Ingredients
For the Oreo Brownie Crust
- 1 egg, room temperature
- 1/4 cup unsalted butter, melted
- 1/2 cup granulated sugar
- Pinch of salt
- 12 Oreo cookies
- 3 tablespoons all-purpose flour
- 1/2 teaspoon vanilla extract
- 1/2 cup cocoa powder
For the Red Velvet Cheesecake
- 1/2 teaspoon vanilla extract
- Red gel food coloring
- 1 egg, room temperature
- 1 tablespoon cocoa powder
- 1/4 cup granulated sugar
- 8 oz cream cheese, room temperature
- 1/4 cup sour cream, room temperature
For the Topping
- 8 oz Cool Whip, thawed
- Chocolate shavings
Instructions
-
Prepare for baking: Preheat the oven to 350°F (175°C) and line a 12-cup standard cupcake tin with paper liners.
-
Make the brownie batter: Combine flour, cocoa powder, and salt in a medium bowl. In a large bowl, whisk sugar and egg until pale. Mix in melted butter and vanilla extract, then stir in dry ingredients until well combined.
-
Form the brownie base: Spoon the brownie batter into the lined cupcake tin and spread it evenly in each cup using the back of a spoon.
-
Pre-bake the brownie crust: Bake the brownie crust at 350°F for 5 minutes, then reduce the oven temperature to 325°F.
-
Add the Oreo cookies: After the brownie bases have cooled, press one Oreo cookie into the center of each cup.
-
Prepare the red velvet cheesecake mixture: In a large bowl, cream together the cream cheese and sugar until smooth. Mix in the egg, sour cream, and vanilla extract until combined. Add the cocoa powder and stir until incorporated. Slowly add red gel food coloring until the desired red velvet color is achieved. Use a rubber spatula to ensure thorough mixing.
-
Add the cheesecake layer: Divide the red velvet cheesecake mixture evenly over the brownie crust and Oreo cookie in each cup, filling them almost to the top. Tap the pan on the counter a few times to smooth out the mixture and eliminate air bubbles.
-
Bake the cheesecakes: Bake at 325°F for 15-18 minutes until the edges are set but the centers have a slight jiggle.
-
Cool and chill: Cool the cheesecakes to room temperature, then refrigerate for at least 1 hour before serving.
-
Add the topping: Place the thawed Cool Whip into a piping bag with a decorative nozzle. Pipe a swirl of Cool Whip on each mini cheesecake and top with chocolate shavings.