Follow Me On Social Media!
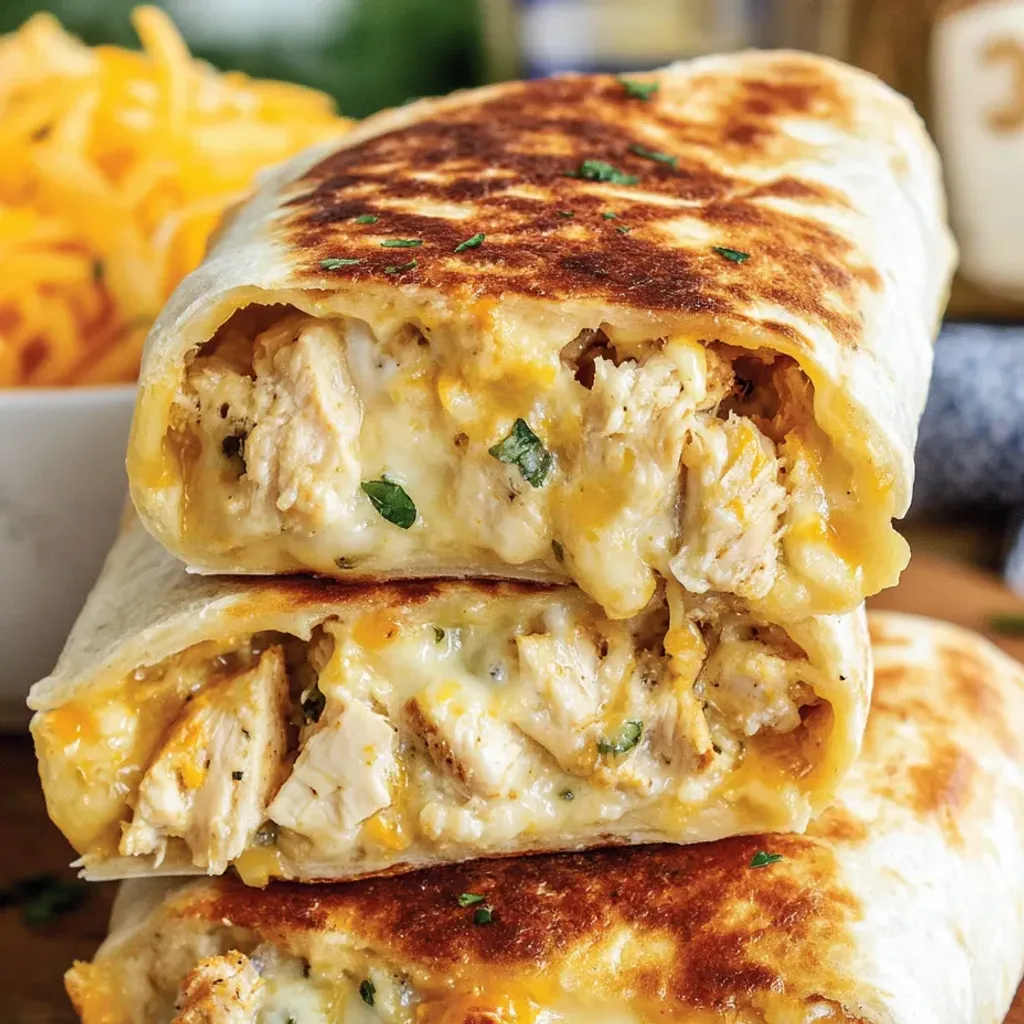
Craving a quick and delicious meal that will impress even the pickiest eaters? Look no further than these Cheesy Garlic Chicken Wraps! Packed with flavorful ingredients like gooey cheese, savory chicken, and zesty garlic, these wraps are a guaranteed hit at the dinner table. I stumbled upon this recipe during a week of culinary boredom, and it instantly became a household favorite.
The secret to these wraps lies in the perfect balance of crispy tortillas and melty cheese, creating a mouthwatering combination that will have your taste buds dancing. Whether you’re hosting a last-minute dinner with friends or simply looking to switch up your weeknight meals, these Cheesy Garlic Chicken Wraps are sure to satisfy. Don’t be surprised if your guests start asking for the recipe – they’re just that good! So, roll up your sleeves and get ready to whip up a batch of these irresistible wraps for a meal that’s both simple and impressive.
Quick Benefits
- Quick and easy dinner option that impresses both teenagers and adults
- Versatile – can be customized with different cheeses, veggies, or proteins
- Filling keeps well in the fridge for a few days, making it a convenient make-ahead meal
- Satisfying and flavorful dish that tastes gourmet without requiring a lot of effort
Why You’ll Love This Garlic Chicken Wraps with Cheesy Goodness Recipe
- Quick and Impressive: Perfect for busy weeknights when you need a quick meal to impress your family or unexpected guests.
- Kid-Friendly: Kids love the crispy exterior and gooey, cheesy filling of these wraps, making it a family-friendly recipe.
- Versatile: You can customize these wraps with different cheeses, add-ins like tomatoes or avocados, or use different types of tortillas for variety.
- Great for Meal Prep: The filling can be made ahead and stored in the fridge, allowing you to assemble and cook the wraps as needed.
- Restaurant-Quality Taste: The combination of flavors and textures creates a dish that tastes like it’s from a fancy restaurant, but it’s made with simple ingredients.
- Satisfying and Comforting: A hearty meal that feels indulgent but is surprisingly easy to make, providing comfort food vibes without the fuss.
- Leftover-Friendly: A great way to use up leftover chicken or grilled meats to create a delicious and satisfying meal.
- Crave-Worthy: The garlicky cheese filling and crispy exterior will have you craving these wraps regularly, making it a go-to recipe in your repertoire.
Ingredients for Garlic Chicken Wraps with Cheesy Goodness
Wraps and Base
- 3 ounces grated cheese blend (cheddar or Mexican blend)
- 1 green onion, chopped
- 7 ounces cooked chicken, chopped (rotisserie works perfectly)
- 2 large tortillas (regular or low-carb/high-protein)
Garlic Sauce
- 2 garlic cloves, minced or grated
- 1 tablespoon light Greek yogurt
- 2 teaspoons hot sauce (like Frank’s RedHot)
- 1/4 teaspoon salt
- 2 tablespoons light mayonnaise
For Cooking
- Olive oil spray
How to Make Garlic Chicken Wraps with Cheesy Goodness
Step 1: Make the Chicken Filling
Combine chopped chicken, minced garlic, mayonnaise, Greek yogurt, hot sauce, and salt in a medium bowl. Mix until well combined and creamy.
Step 2: Assemble the Wraps
Place each tortilla flat on a clean surface. Sprinkle 2 tablespoons of cheese on the lower third of each tortilla, followed by 2/3 cup of the chicken mixture. Top with 1 tablespoon of cheese and chopped green onion.
Step 3: Roll the Wraps
Fold the left and right sides of the tortilla in, then roll tightly from the bottom up to secure the filling inside. Place the seam side down.
Step 4: Heat the Pan
Preheat a non-stick skillet over medium-high heat, lightly spray with olive oil spray, ensuring the pan is hot but not smoking.
Step 5: Cook the Wraps
Place the wraps in the hot pan, seam-side down, and cook for 3-4 minutes until golden and crispy. Carefully flip and cook the other side for 3-4 minutes, covering with a lid to melt the cheese and warm the filling.
Step 6: Serve
Take off the heat and allow to cool for a minute. Then, slice each wrap diagonally in half. Serve promptly while the cheese is gooey and the exterior is crispy.
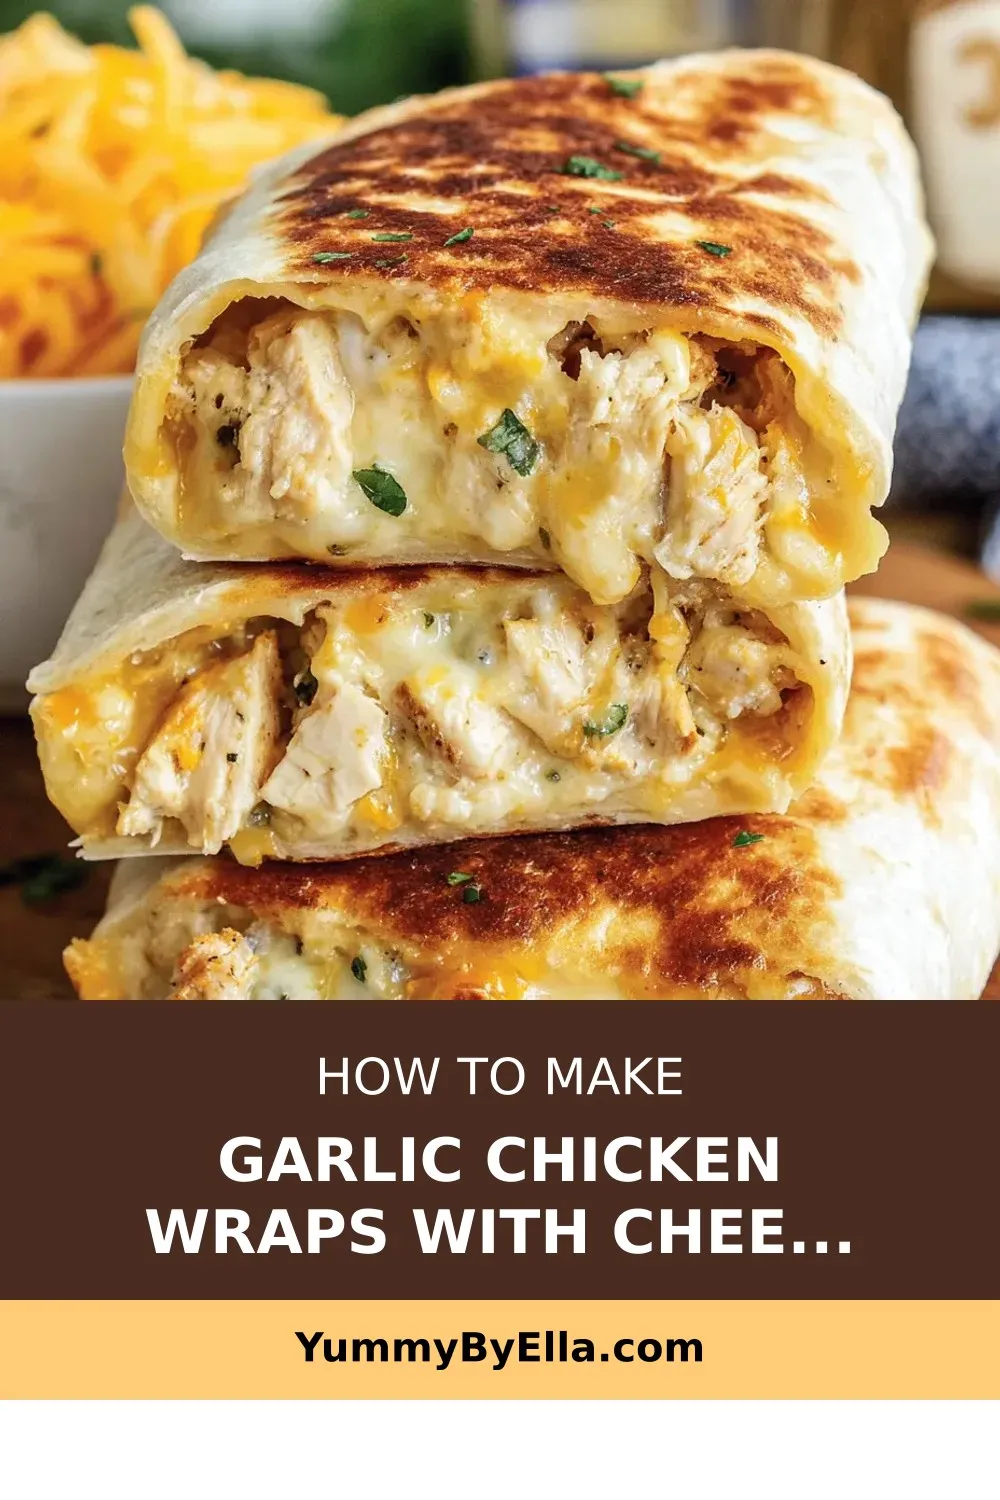
📌 Pin for later!
Storage Tips
To store the finished Cheesy Garlic Chicken Wraps, allow any leftover wraps to cool to room temperature before transferring them to an airtight container. Place a sheet of parchment paper between each wrap to prevent sticking. Store the wraps in the refrigerator for up to 2-3 days. Reheat them in a skillet over medium heat to help retain their crispiness, ensuring they are heated through before serving.
If you anticipate having leftover filling, store it separately in an airtight container in the refrigerator. The filling can be kept for a few days and used to make fresh wraps as needed. Simply assemble the wraps with the stored filling and cook them up for a quick and delicious meal. By storing the wraps and filling properly, you can enjoy the flavors of these Cheesy Garlic Chicken Wraps even after the initial cooking.
Ingredient Substitutions
If you need to make a substitution in this Cheesy Garlic Chicken Wraps recipe, there are several options available. For the cheese blend, feel free to experiment with different types like mozzarella, provolone, or even a spicy pepper jack for a different flavor profile. You could also try using vegan cheese if you prefer a dairy-free option.
In terms of the protein, cooked shrimp or diced turkey could be used instead of chicken for a variation on the filling. For a vegetarian version, consider using sautéed mushrooms, tofu, or even a plant-based chicken substitute.
If you’re looking to make these wraps healthier, you can swap out the regular tortillas for whole wheat or low-carb wraps. Additionally, you can use full-fat mayonnaise and Greek yogurt if you’re not concerned about the calorie content. Don’t be afraid to personalize this recipe with your favorite ingredients to suit your taste preferences or dietary needs.
Serving Suggestions
For a fun and interactive serving suggestion, set up a DIY Cheesy Garlic Chicken Wrap bar for a casual gathering or family dinner. Lay out all the ingredients – chopped cooked chicken, grated cheese, green onions, minced garlic, mayo-yogurt sauce, hot sauce, and tortillas – in separate bowls or platters. Let everyone assemble their own wraps, customizing the fillings to their liking. It’s a great way to get everyone involved in the meal and ensures that each wrap is tailored to individual taste preferences.
To elevate your Cheesy Garlic Chicken Wraps presentation, cut the assembled wraps into pinwheels or bite-sized spirals for a delightful appetizer or party snack. Simply roll up the filled tortilla tightly and slice into 1-inch thick pieces. Arrange the pinwheels on a platter with a side of dipping sauce or additional hot sauce for an attractive and tasty finger food option. The cute pinwheels not only look appealing but also make it easier for guests to grab and enjoy this cheesy, garlicky treat!
FAQs for Garlic Chicken Wraps with Cheesy Goodness
Can I use a different type of cheese for these wraps?
Absolutely! Feel free to experiment with different types of cheese like pepper jack for some heat or swiss for a more sophisticated flavor.
Can I prepare the filling in advance?
Yes, you can prepare the filling in advance and store it in the fridge for a few days. This way, you can easily make wraps as needed, saving time during busy days.
How can I prevent the wraps from falling apart when cooking?
Make sure not to overfill the wraps with the cheesy garlic chicken mixture. Measure out the filling to avoid overstuffed wraps that may fall apart during cooking.
What are some good side dishes to serve with these wraps?
These wraps are a complete meal on their own, but you can serve them with a quick salad, fresh fruit, or pickles for a contrasting tangy flavor. The richness of the wraps pairs well with something crisp and fresh.
Conclusion
I hope you give these Cheesy Garlic Chicken Wraps a try – they really are a crowd-pleaser! Don’t be afraid to customize them with your favorite ingredients and make them your own. Whether you’re serving them as a quick weeknight dinner or as a tasty lunch, these wraps are sure to become a regular on your menu rotation.
Remember, cooking is all about having fun and experimenting in the kitchen. So grab your tortillas and get creative with the filling. The combination of gooey cheese, flavorful chicken, and garlicky goodness is simply irresistible. Enjoy making and savoring these Cheesy Garlic Chicken Wraps – your taste buds will thank you!
📌 Pin for later!
Garlic Chicken Wraps with Cheesy Goodness
“Quick and impressive Cheesy Garlic Chicken Wraps that turn simple ingredients into restaurant-quality deliciousness in every bite.”
Prep Time15 Minutes
Cook Time7 Minutes
Total Time22 Minutes
CuisineAmerican
Skill LevelEasy
Servings2 Servings (2 wraps)
Ingredients
Wraps and Base
- 3 ounces grated cheese blend (cheddar or Mexican blend)
- 1 green onion, chopped
- 7 ounces cooked chicken, chopped (rotisserie works perfectly)
- 2 large tortillas (regular or low-carb/high-protein)
Garlic Sauce
- 2 garlic cloves, minced or grated
- 1 tablespoon light Greek yogurt
- 2 teaspoons hot sauce (like Frank’s RedHot)
- 1/4 teaspoon salt
- 2 tablespoons light mayonnaise
For Cooking
- Olive oil spray
Instructions
-
Make the Chicken Filling: Combine chopped chicken, minced garlic, mayonnaise, Greek yogurt, hot sauce, and salt in a medium bowl. Mix until well combined and creamy.
-
Assemble the Wraps: Place each tortilla flat on a clean surface. Sprinkle 2 tablespoons of cheese on the lower third of each tortilla, followed by 2/3 cup of the chicken mixture. Top with 1 tablespoon of cheese and chopped green onion.
-
Roll the Wraps: Fold the left and right sides of the tortilla in, then roll tightly from the bottom up to secure the filling inside. Place the seam side down.
-
Heat the Pan: Preheat a non-stick skillet over medium-high heat, lightly spray with olive oil spray, ensuring the pan is hot but not smoking.
-
Cook the Wraps: Place the wraps in the hot pan, seam-side down, and cook for 3-4 minutes until golden and crispy. Carefully flip and cook the other side for 3-4 minutes, covering with a lid to melt the cheese and warm the filling.
-
Serve: Take off the heat and allow to cool for a minute. Then, slice each wrap diagonally in half. Serve promptly while the cheese is gooey and the exterior is crispy.