Follow Me On Social Media!
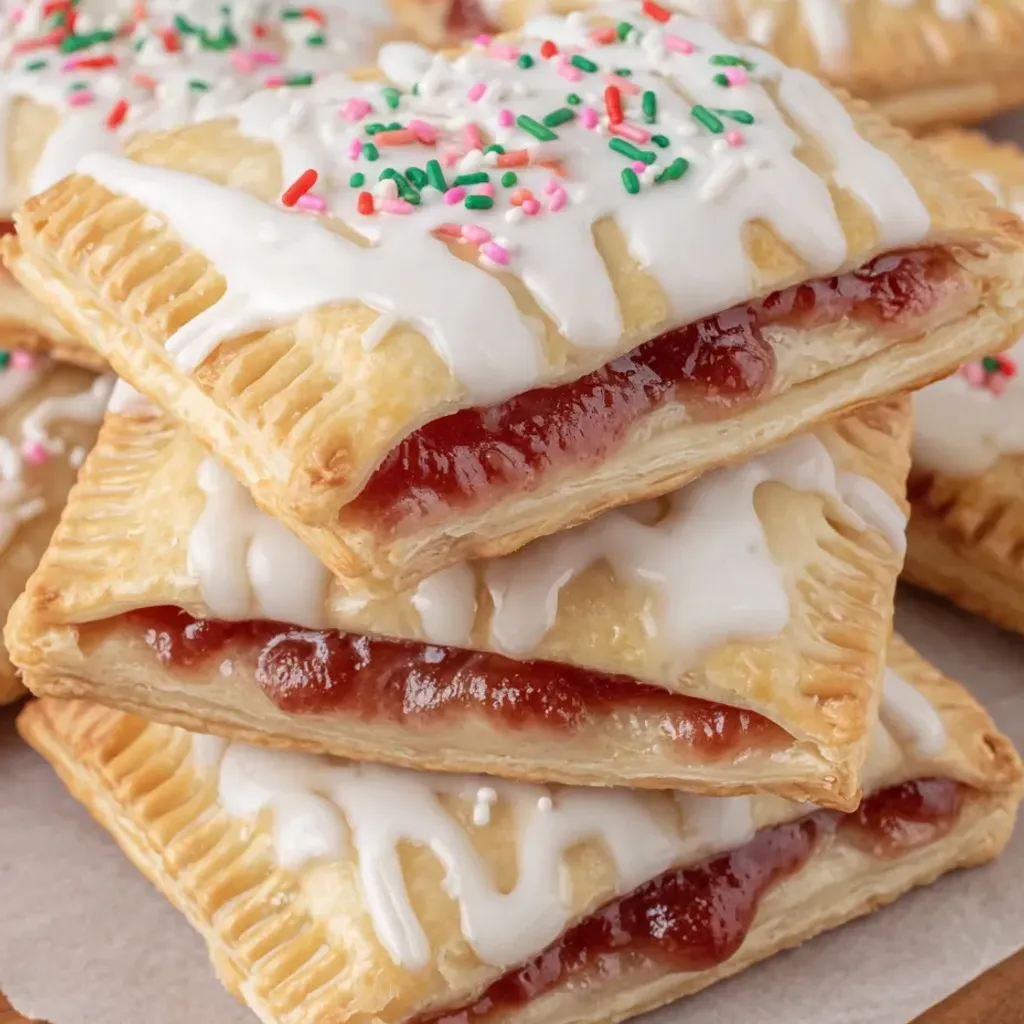
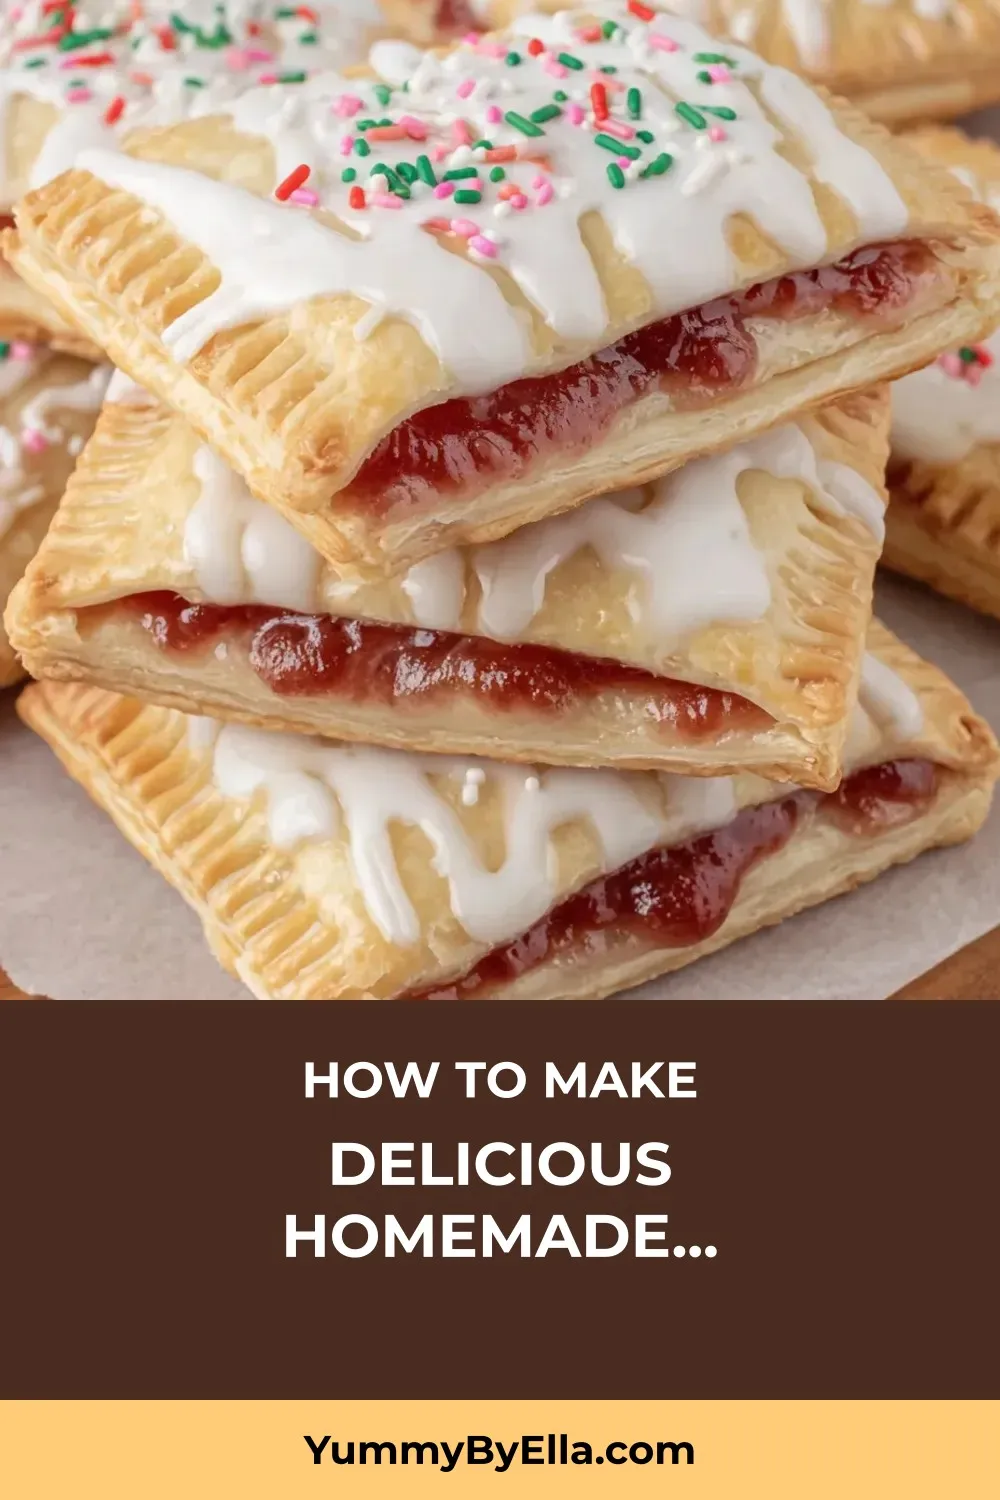
Get ready to elevate your breakfast game with these delectable homemade Strawberry Pop Tarts. Using a clever shortcut of refrigerated pie crusts, this recipe delivers a level of flakiness and buttery goodness that takes this childhood favorite to gourmet heights. Filled with luscious strawberry preserves and sealed with a charming fork-crimped edge, these hand-held pastries are then adorned with a delightful vanilla glaze and a generous sprinkle of colorful toppings.
The joy of making these Strawberry Pop Tarts extends beyond the kitchen, creating cherished moments with loved ones. Whether it’s hosting a pop tart morning with friends or starting a new weekend tradition with the family, these treats are sure to bring smiles all around. Discover the satisfaction of crafting a bakery-worthy indulgence in the comfort of your own home, all while enjoying the fresh, nostalgic flavors that make these pop tarts truly special. So, grab your ingredients, roll up your sleeves, and get ready to create magic in the form of Strawberry Pop Tarts that will become a beloved staple in your household.
Quick Benefits
- Elevated Flavors: Transform a childhood favorite into a gourmet breakfast experience with real strawberry preserves and a buttery pie crust.
- Customizable Options: Experiment with different fillings like brown sugar cinnamon, Nutella, blueberry preserves, or apple butter for a variety of flavor profiles.
- Convenient Storage: Enjoy fresh-tasting pop tarts for up to 3 days at room temperature or freeze unbaked pastries for up to 2 months, allowing for easy meal prep.
- Family Fun: Create lasting memories and traditions by involving family and friends in the process of making and decorating these homemade pop tarts.
Why You’ll Love This Delicious Homemade Strawberry Pop Tart Recipe Recipe
- Brings Nostalgia to the Breakfast Table: Reminisce about childhood favorites with a gourmet twist that elevates a classic treat.
- High-Quality Ingredients, Homemade Taste: Utilize refrigerated pie crusts for a flaky, buttery flavor that surpasses store-bought versions.
- Customizable Flavors: Experiment with different fillings like brown sugar cinnamon, Nutella, blueberry preserves, or apple butter for a unique twist.
- Family-Friendly Activity: Perfect for Saturday mornings, create lasting memories with loved ones as you assemble and decorate these pastries.
- Quick and Easy Recipe: Take only 35 minutes to make, providing a quick and delicious breakfast option for busy mornings.
- Versatile Storage Options: Enjoy fresh pop tarts for up to 3 days at room temperature or freeze unbaked pastries for up to 2 months for a convenient treat anytime.
- Crunchy or Soft Options: Reheat for 5 minutes in the oven for a crispy texture or enjoy straight from the freezer for a softer bite.
- Boutique Bakery Feel: Impress guests or family members with a homemade treat that looks and tastes like it came from a fancy bakery with minimal effort.
Ingredients for Delicious Homemade Strawberry Pop Tart Recipe
Pop Tarts
- 1 tablespoon water
- 1 box refrigerated pie crusts (2 crusts)
- 3/4 cup strawberry preserves
- 1 large egg
Glaze
- sprinkles, for topping
- 1 cup powdered sugar
- 1 tablespoon milk
How to Make Delicious Homemade Strawberry Pop Tart Recipe
Step 1: Get Everything Ready
Preheat oven to 400°F. Line a large baking sheet with parchment paper or a silicone mat. In a small bowl, mix together the egg and water, then set aside.
Step 2: Cut the Dough
Unroll and slightly thin one pie crust. Cut out six 3×4 inch rectangles using a ruler. Repeat with scraps to get two more rectangles. Repeat process with second crust to yield a total of 16 rectangles.
Step 3: Fill the Pop Tarts
Spread strawberry preserves on 8 rectangles, leaving a half-inch border. Brush edges with egg wash.
Step 4: Seal Them Up
Top with the remaining 8 rectangles and seal edges by pressing with fingers and crimping with a fork.
Step 5: Prepare for Baking
Transfer the pop tarts to a baking sheet. Use a fork to poke a few holes in the top of each one, then lightly brush the tops with egg wash.
Step 6: Bake Until Golden
Bake for 15 minutes or until golden brown. Cool on the pan briefly, then transfer to a wire rack to cool completely.
Step 7: Add the Frosting
In a bowl, whisk together powdered sugar and milk. Once the pop tarts have cooled completely, use an angled spatula to spread the glaze over the tops. Immediately sprinkle with sprinkles before the glaze hardens.
📌 Pin for later!
Storage Tips
Once you have prepared your homemade strawberry pop tarts, it’s important to store them properly to maintain their freshness and flavor. These delicious pastries can be kept at room temperature for up to 3 days in an airtight container. Make sure the container is sealed well to prevent the pop tarts from becoming stale.
If you want to enjoy your pop tarts with that “just baked” crunch after a few days, you can reheat them in the oven. Simply place an un-iced pop tart in a preheated 300°F oven for about 5 minutes to revive their crispiness. This method helps to bring back the original texture and flavor, making them taste freshly baked.
For longer storage, you can freeze the unbaked, assembled pop tarts for up to 2 months. When you’re ready to enjoy them, bake the frozen pastries directly from the freezer, adding 2-3 extra minutes to the baking time to ensure they are cooked through. Freezing the pop tarts allows you to have a convenient homemade treat on hand whenever you crave a delicious breakfast or snack.
Ingredient Substitutions
If you don’t have refrigerated pie crusts on hand, you can make your own pastry dough as a substitute. A simple recipe for a basic pie crust includes flour, butter, salt, and ice water. This homemade dough will give your pop tarts a more rustic and authentic touch, with a flaky texture similar to the store-bought version.
For a different flavor variation, you can swap the strawberry preserves with any other fruit preserves or jam of your choice. Raspberry, blueberry, or even apricot preserves would work well in this recipe. If you prefer a less sweet filling, you could also use a combination of fresh fruit slices, a sprinkle of sugar, and a squeeze of lemon juice. Experimenting with different fillings allows you to tailor the pop tarts to your taste preferences or seasonal fruit availability.
Serving Suggestions
For a fun and interactive serving suggestion with these delightful homemade strawberry pop tarts, consider setting up a DIY Pop Tart Bar for a brunch or breakfast gathering. Display a variety of fillings like strawberry preserves, chocolate hazelnut spread, apple butter, and blueberry preserves in small bowls. Provide different toppings such as sprinkles, chopped nuts, and powdered sugar for guests to customize their pop tarts. This setup allows everyone to create their own unique flavor combinations, adding a playful twist to the nostalgic treat.
To elevate the presentation of your strawberry pop tarts, serve them on a tiered dessert stand alongside a pot of freshly brewed coffee or a selection of teas. Garnish the pastries with a drizzle of extra glaze, a sprinkle of powdered sugar, and a few whole strawberries for a pop of color. The tiered display not only adds a touch of elegance to your breakfast spread but also makes it easy for guests to grab their favorite pop tart while mingling and enjoying the morning together.
FAQs for Delicious Homemade Strawberry Pop Tart Recipe
Can I use homemade pie crust instead of refrigerated pie crusts?
Yes, you can definitely use homemade pie crust for this recipe. Just make sure to roll out the dough to the appropriate thickness, and cut it into rectangles to assemble your pop tarts.
Can I substitute the strawberry preserves with another fruit filling?
Absolutely! You can use any fruit preserves or filling of your choice in these pop tarts. Blueberry preserves, apple butter, or even Nutella are great alternatives to try for different flavor variations.
How can I prevent the pop tarts from becoming soggy?
To prevent the pop tarts from becoming soggy, make sure to seal the edges properly by crimping them with a fork. Additionally, allowing the pastries to cool completely before adding the glaze will help maintain their crispness.
Can I make a larger batch of these pop tarts and freeze them for later?
Yes, you can make a larger batch of pop tarts and freeze them for up to 2 months. Simply assemble the pastries, freeze them on a baking sheet until firm, then transfer to a freezer-safe bag. When ready to bake, place them directly from the freezer into the oven, adding a few extra minutes to the baking time.
Conclusion
So there you have it – a delightful recipe for homemade Strawberry Pop Tarts that will elevate your breakfast game and bring joy to your family and friends. These handcrafted pastries offer a perfect balance of flakiness, sweetness, and nostalgia, making them a delightful treat for any occasion.
Whether you’re an experienced baker or a novice in the kitchen, making these Strawberry Pop Tarts is a rewarding and fun experience that will surely become a beloved tradition in your home. So, roll up your sleeves, get creative with the fillings, and enjoy the process of making these delicious pastries. Let the aroma of fresh strawberries and buttery crust fill your kitchen, and savor every bite of these homemade delights. Here’s to many more memorable “pop tart mornings” filled with laughter, love, and of course, Strawberry Pop Tarts!
📌 Pin for later!
Delicious Homemade Strawberry Pop Tart Recipe
“Transform childhood nostalgia into gourmet breakfast bliss with these flaky homemade Strawberry Pop Tarts topped with a sweet vanilla glaze and colorful sprinkles.”
Prep Time20 Minutes
Cook Time15 Minutes
Total Time35 Minutes
CuisineAmerican
Skill LevelEasy
Servings8 pop tarts
Ingredients
Pop Tarts
- 1 tablespoon water
- 1 box refrigerated pie crusts (2 crusts)
- 3/4 cup strawberry preserves
- 1 large egg
Glaze
- sprinkles, for topping
- 1 cup powdered sugar
- 1 tablespoon milk
Instructions
-
Get Everything Ready: Preheat oven to 400°F. Line a large baking sheet with parchment paper or a silicone mat. In a small bowl, mix together the egg and water, then set aside.
-
Cut the Dough: Unroll and slightly thin one pie crust. Cut out six 3×4 inch rectangles using a ruler. Repeat with scraps to get two more rectangles. Repeat process with second crust to yield a total of 16 rectangles.
-
Fill the Pop Tarts: Spread strawberry preserves on 8 rectangles, leaving a half-inch border. Brush edges with egg wash.
-
Seal Them Up: Top with the remaining 8 rectangles and seal edges by pressing with fingers and crimping with a fork.
-
Prepare for Baking: Transfer the pop tarts to a baking sheet. Use a fork to poke a few holes in the top of each one, then lightly brush the tops with egg wash.
-
Bake Until Golden: Bake for 15 minutes or until golden brown. Cool on the pan briefly, then transfer to a wire rack to cool completely.
-
Add the Frosting: In a bowl, whisk together powdered sugar and milk. Once the pop tarts have cooled completely, use an angled spatula to spread the glaze over the tops. Immediately sprinkle with sprinkles before the glaze hardens.