Follow Me On Social Media!

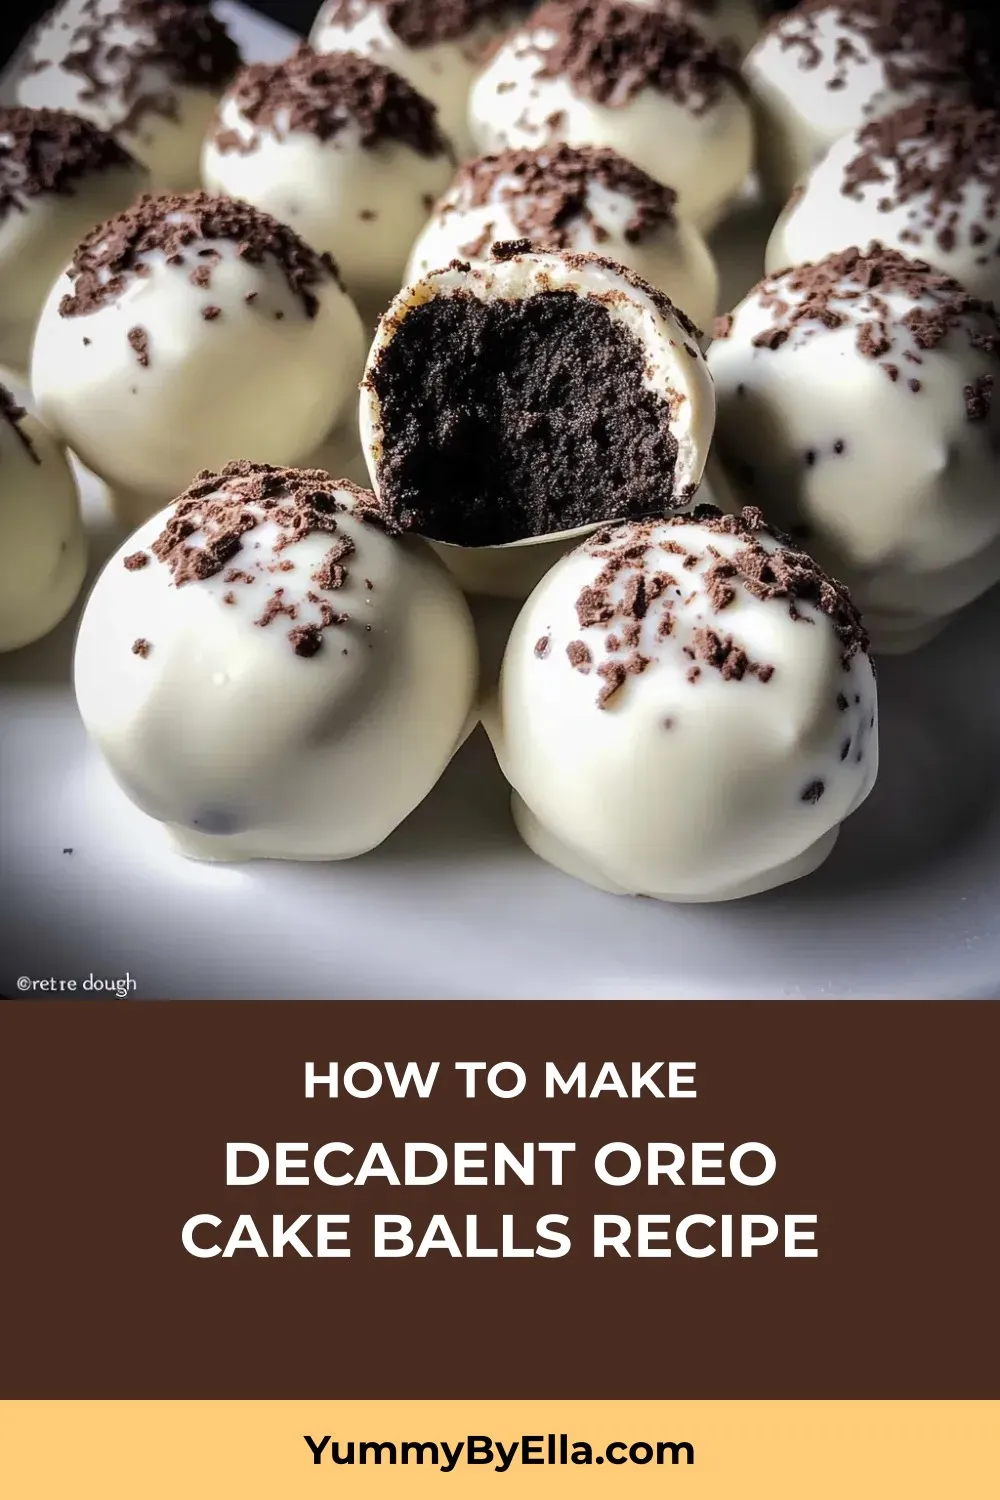
Craving a delightful and easy-to-make treat that’s a definite crowd-pleaser? Look no further than Oreo Cake Balls! I stumbled upon this Oreo cake balls recipe during a last-minute birthday party prep, and let me tell you, they are a game-changer. Picture this – a creamy Oreo center enveloped in a crisp candy coating, creating a heavenly contrast in every bite. Plus, the best part? No baking required, making them a perfect choice for those scorching summer days when using the oven is out of the question.
These Oreo cake balls have quickly become my go-to for any gathering, from baby showers to impromptu visits from friends. The versatility of this recipe is unmatched – whether you stick to the classic version or get creative with different Oreo flavors and mix-ins, the result is always a delightful treat. I’ve had my fair share of trials and errors perfecting these little goodies, from sticky situations with melted chocolate to cracking candy coatings, but now I’ve got it down to a science. Trust me, once you try these Oreo Cake Balls, they’ll become a staple in your dessert repertoire, just like they are in mine.
Quick Benefits
- Quick and easy no-bake dessert option
- Versatile recipe with room for experimentation using different Oreo flavors and mix-ins
- Portable and convenient for gatherings, potlucks, and events
- Can be made ahead and frozen for future enjoyment
Why You’ll Love This Decadent Oreo Cake Balls Recipe Recipe
- Quick and Easy: Perfect for those times when you need a last-minute dessert or treat without the hassle of baking.
- No-Bake Recipe: Ideal for hot summer days when using the oven is the last thing you want to do.
- Versatile: Experiment with different flavors by using different types of Oreos and extracts to create unique variations.
- Crowd-Pleaser: Impress your guests with these delectable treats; they look fancy but are incredibly simple to make.
- Make-Ahead: Prepare in advance for events or gatherings as they can be stored in the fridge or frozen without losing their deliciousness.
- Family Favorite: Loved by both kids and adults, these Oreo cake balls might just become a household staple for special occasions or just as a sweet treat.
Ingredients for Decadent Oreo Cake Balls Recipe
Cake Ball Base
- 4 oz cream cheese, softened
- 24 Oreo cookies (regular size, about one standard package)
Chocolate Coating
- 2 tablespoons heavy cream (optional, only if needed to thin candy coating)
- 10 oz white candy melts (Ghirardelli brand recommended)
Optional Decorations
- Semi-sweet chocolate chips for drizzling
- Crushed Oreo cookies for sprinkling
How to Make Decadent Oreo Cake Balls Recipe
Step 1: Prepare the Oreo Mixture
Put 24 whole Oreo cookies, including the cream filling, in a food processor. Pulse on high until they are crushed into a fine powder with no large chunks left.
Step 2: Add Cream Cheese
Combine softened cream cheese with crushed Oreos in a food processor. Pulse until smooth, stopping to scrape down the sides. The mixture should be thick and moldable like soft dough.
Step 3: Shape the Cake Balls
After removing the blades from the food processor and scraping any remaining mixture back into the bowl, use a medium cookie scoop to portion out the Oreo mixture into smooth, round balls by rolling them between your palms.
Step 4: Chill the Cake Balls
Arrange the formed cake balls on a parchment paper-lined baking sheet, ensuring they are not touching. Freeze for 15 minutes or refrigerate for 1 hour until firm to help them hold their shape when dipping.
Step 5: Melt the Candy Coating
Put the white candy melts in a microwave-safe bowl. Microwave in 20-second increments, stirring each time, until melted and smooth. Avoid overheating. If using Ghirardelli, the consistency should be ideal for dipping without thinning.
Step 6: Prepare for Dipping
If the melted candy coating is too thick for dipping, gradually stir in hot heavy cream, 1 tablespoon at a time, until it reaches the desired consistency. Another option is to use specialized dipping aid chips made for candy melts.
Step 7: Dip the Cake Balls
Dip a few cake balls at a time into melted candy coating, ensuring they are completely coated. Use a fork to lift them out, tapping gently to remove excess coating. Keep remaining balls in the refrigerator.
Step 8: Set and Decorate
Transfer the coated cake balls back to the parchment-lined baking sheet. Sprinkle crushed Oreo topping on top while the coating is still wet. Repeat for the remaining cake balls.
Step 9: Optional Chocolate Drizzle
Optionally, melt semi-sweet chocolate chips and drizzle over the chilled cake balls for decoration using a piping bag with a small tip or a plastic bag with a small corner cut off.
Step 10: Let Set and Serve
Let the coated cake balls set at room temperature or refrigerate for quicker setting. Once set, they are ready to serve or can be stored in an airtight container in the refrigerator.
📌 Pin for later!
Storage Tips
Once you’ve made a batch of Oreo cake balls, storing them properly is key to maintaining their texture and flavor. If kept at room temperature, these treats will stay fresh for about three days when stored in a container with a lid. However, if your home is warm, it’s best to refrigerate them. Remember to take the cake balls out of the fridge about 20 minutes before serving to allow them to soften slightly. This will prevent them from becoming too hard, ensuring a delightful eating experience.
If you have leftovers or want to make the Oreo cake balls in advance, they can be frozen successfully. Freeze the cake balls before decorating them, as freezing them after decoration can cause the toppings to become soggy due to condensation. Simply thaw the frozen cake balls overnight in the fridge when you’re ready to enjoy them. This method allows you to prepare these delightful treats ahead of time for special occasions or unexpected guests, ensuring that they retain their delicious taste and texture.
Ingredient Substitutions
For the Oreo cake balls recipe, you can easily customize the flavors by using different types of Oreos or adding extracts. For a unique twist, try using Golden Oreos with a touch of lemon extract for a summery version, or mint Oreos with a hint of peppermint oil for a festive treat around Christmas. You can also mix in add-ins like peanut butter chips with regular Oreos for a flavor variation. Just be mindful not to alter the cream cheese ratio too much, as it helps the balls hold their shape.
If you don’t have white candy melts on hand, you can substitute them with white chocolate chips or almond bark. Melt the white chocolate gently in a double boiler or in the microwave in short bursts, stirring frequently until smooth. If the chocolate is too thick, you can add a small amount of vegetable oil to thin it out to the desired consistency. This substitution will work well for coating the Oreo cake balls, providing a delicious alternative to the candy melts.
Serving Suggestions
For a fun and creative serving suggestion for these Oreo cake balls, try displaying them in a mini cupcake stand or on a decorative platter with colorful paper cupcake liners. This will not only make them visually appealing but also convenient for guests to grab and enjoy at parties or gatherings. Another idea is to serve them on individual dessert spoons for a stylish and elegant presentation. Drizzle some melted chocolate over the top and sprinkle with crushed Oreos for an extra touch of indulgence.
To add a playful twist to these Oreo cake balls, consider turning them into cake pops by inserting a lollipop stick into each ball before coating them in chocolate. This will make them easier to handle and eat, perfect for events where guests are mingling and socializing. You can also customize the decorations by using different colored candy melts or sprinkles to match the theme of your party or celebration. These Oreo cake pops are sure to be a hit with both kids and adults alike!
FAQs for Decadent Oreo Cake Balls Recipe
Can I use a different type of chocolate for the coating?
Yes, you can experiment with different types of chocolate for the coating based on your preferences. Milk chocolate, dark chocolate, or colored candy melts can be used instead of white candy melts.
How long do I need to chill the Oreo cake balls before coating them?
It is recommended to chill the Oreo cake balls in the refrigerator for at least 1-2 hours before coating them. This will help them hold their shape and prevent them from falling apart in the melted chocolate.
Can I make these Oreo cake balls in advance and freeze them?
Yes, you can make the Oreo cake balls in advance and freeze them. Store the undecorated cake balls in an airtight container in the freezer. Thaw them overnight in the fridge before decorating and serving.
How should I store the decorated Oreo cake balls?
You can store the decorated Oreo cake balls in a container with a lid at room temperature for up to three days. If your house is warm, consider storing them in the fridge, but remember to let them sit at room temperature for about 20 minutes before serving to avoid them being too hard.
Conclusion
As you embark on your Oreo Cake Balls adventure, remember that the beauty of this recipe lies in its simplicity and versatility. Whether you’re a baking novice or a seasoned pro, these little treats are sure to bring joy to all who taste them. Don’t be discouraged by any mishaps along the way – like my initial struggles, they make for great stories and even better learning experiences.
So go ahead, whip up a batch of these Oreo Cake Balls for your next gathering or simply to treat yourself. With each bite, you’ll savor the perfect melding of rich Oreo goodness and velvety cream cheese, encased in a crisp candy coating. Embrace the magic of these delectable delights and watch as they become a staple in your baking repertoire. Here’s to many more moments of delight as you share and enjoy these irresistible Oreo Cake Balls with your loved ones!
📌 Pin for later!
Decadent Oreo Cake Balls Recipe
“Indulge in creamy Oreo cake balls with a crisp candy coating – an easy, no-bake treat perfect for any occasion!”
Prep Time30 Minutes
Cook Time~ undefined
Total Time30 Minutes
CuisineAmerican
Skill LevelEasy
Servings15 Servings (15 cake balls)
Ingredients
Cake Ball Base
- 4 oz cream cheese, softened
- 24 Oreo cookies (regular size, about one standard package)
Chocolate Coating
- 2 tablespoons heavy cream (optional, only if needed to thin candy coating)
- 10 oz white candy melts (Ghirardelli brand recommended)
Optional Decorations
- Semi-sweet chocolate chips for drizzling
- Crushed Oreo cookies for sprinkling
Instructions
-
Prepare the Oreo Mixture: Put 24 whole Oreo cookies, including the cream filling, in a food processor. Pulse on high until they are crushed into a fine powder with no large chunks left.
-
Add Cream Cheese: Combine softened cream cheese with crushed Oreos in a food processor. Pulse until smooth, stopping to scrape down the sides. The mixture should be thick and moldable like soft dough.
-
Shape the Cake Balls: After removing the blades from the food processor and scraping any remaining mixture back into the bowl, use a medium cookie scoop to portion out the Oreo mixture into smooth, round balls by rolling them between your palms.
-
Chill the Cake Balls: Arrange the formed cake balls on a parchment paper-lined baking sheet, ensuring they are not touching. Freeze for 15 minutes or refrigerate for 1 hour until firm to help them hold their shape when dipping.
-
Melt the Candy Coating: Put the white candy melts in a microwave-safe bowl. Microwave in 20-second increments, stirring each time, until melted and smooth. Avoid overheating. If using Ghirardelli, the consistency should be ideal for dipping without thinning.
-
Prepare for Dipping: If the melted candy coating is too thick for dipping, gradually stir in hot heavy cream, 1 tablespoon at a time, until it reaches the desired consistency. Another option is to use specialized dipping aid chips made for candy melts.
-
Dip the Cake Balls: Dip a few cake balls at a time into melted candy coating, ensuring they are completely coated. Use a fork to lift them out, tapping gently to remove excess coating. Keep remaining balls in the refrigerator.
-
Set and Decorate: Transfer the coated cake balls back to the parchment-lined baking sheet. Sprinkle crushed Oreo topping on top while the coating is still wet. Repeat for the remaining cake balls.
-
Optional Chocolate Drizzle: Optionally, melt semi-sweet chocolate chips and drizzle over the chilled cake balls for decoration using a piping bag with a small tip or a plastic bag with a small corner cut off.
-
Let Set and Serve: Let the coated cake balls set at room temperature or refrigerate for quicker setting. Once set, they are ready to serve or can be stored in an airtight container in the refrigerator.