Follow Me On Social Media!
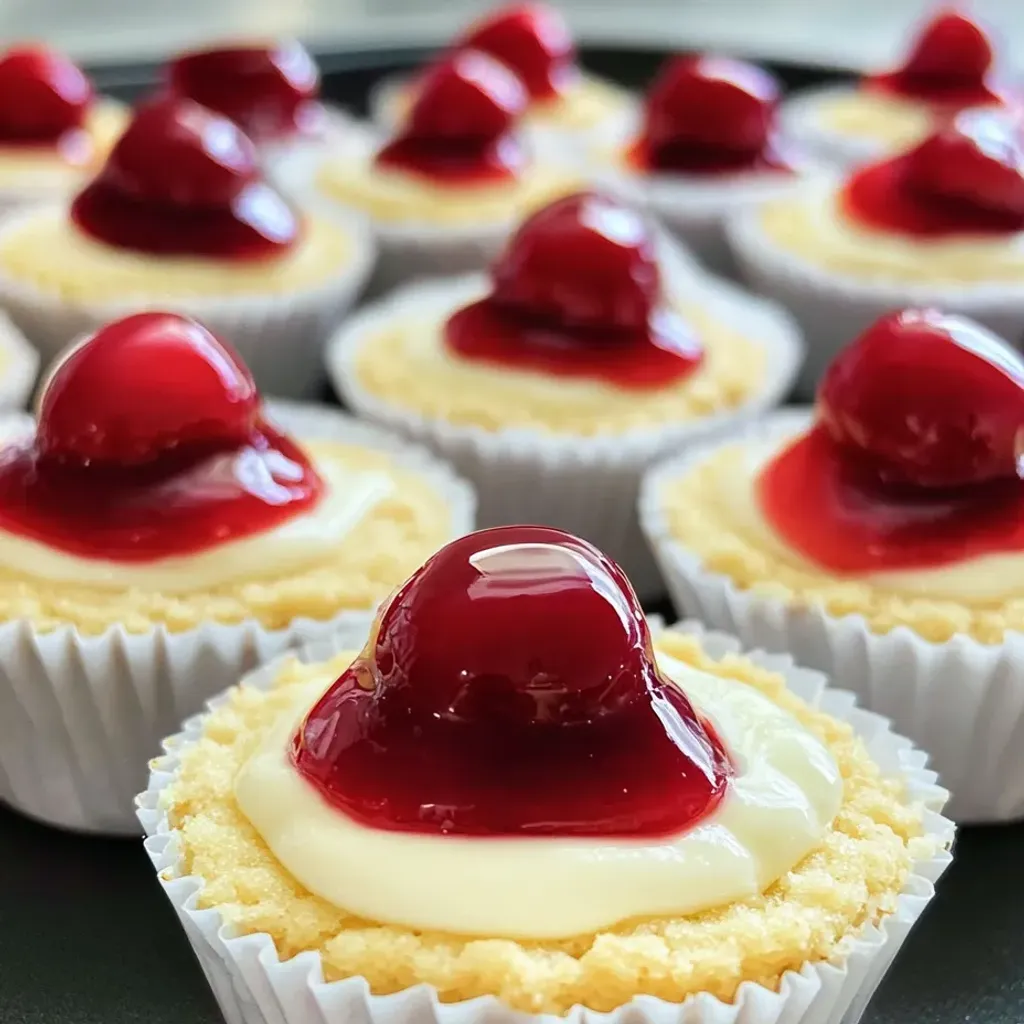
Looking for a dessert that’s sure to impress but won’t have you slaving away in the kitchen for hours? Look no further than these Super Easy Mini Cheesecakes with Vanilla Wafer Crust. I first discovered this recipe during a last-minute dessert dilemma for book club, and it’s been a go-to ever since. The secret lies in the simplicity of the vanilla wafer crust at the bottom, eliminating the need for complicated crushing and mixing typically associated with cheesecakes. Baked in a muffin tin, these mini cheesecakes not only offer perfect portion control but also a quicker baking time compared to their full-sized counterparts.
I vividly remember the look of surprise on my sister’s face when I presented these mini cheesecakes at her birthday dinner last month. Even the self-proclaimed cheesecake hater in the family couldn’t resist sneaking a few when no one was looking. These delightful treats have become a staple in my kitchen, especially for those moments when I need a fuss-free yet crowd-pleasing dessert option. Whether you’re hosting a party, planning a brunch, or simply craving a sweet indulgence, these Super Easy Mini Cheesecakes with Vanilla Wafer Crust are sure to steal the show.
Quick Benefits
- Effortless Elegance: Impress guests with a fancy-looking dessert that requires minimal effort.
- Perfect Portion Control: Individual servings in cupcake form ensure consistent portions and easy serving.
- Quick Baking Time: Bakes much faster than a traditional full-sized cheesecake, making it a perfect last-minute dessert option.
- Endless Variations: Customizable with different flavors and toppings to suit various occasions and tastes.
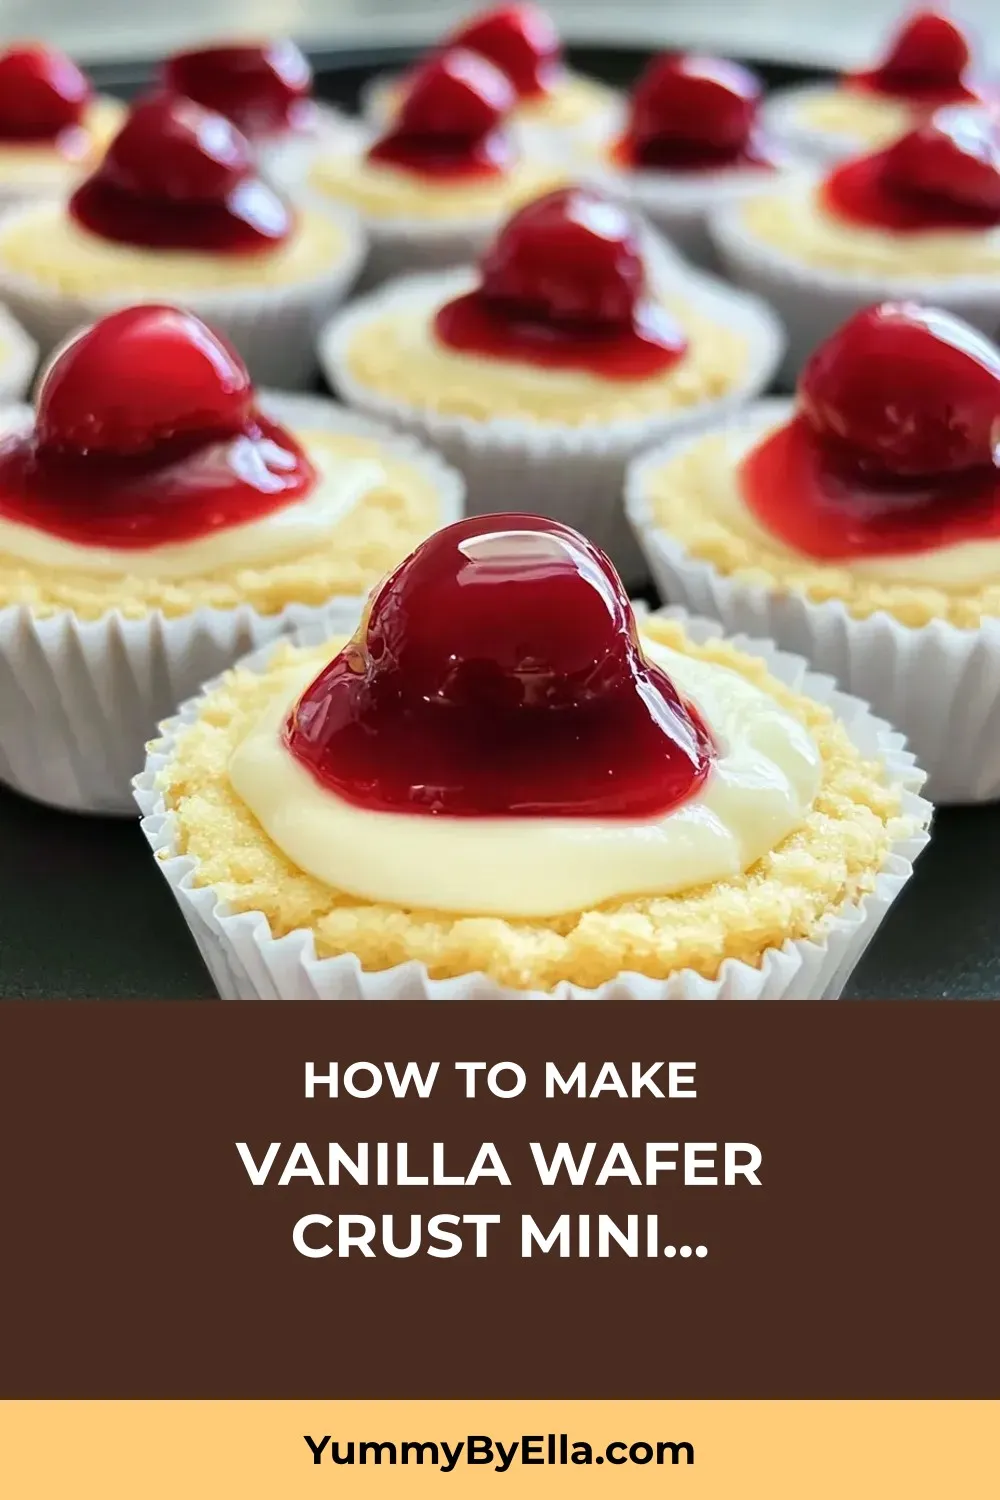
Why You’ll Love This Vanilla Wafer Crust Mini Cheesecakes: Quick & Delicious Recipe Recipe
- Effortless Elegance: Impress your guests with these mini cheesecakes that look fancy but are incredibly easy to make.
- Perfect Portions: Baking them in a muffin tin ensures perfectly portioned treats, eliminating the need for slicing a full-sized cheesecake.
- Quick Baking Time: Enjoy a delicious dessert in less time than it would take to bake a traditional cheesecake.
- Versatile: Explore endless variations with different flavor additions like lemon zest, caramel swirls, or Oreo crusts to suit any occasion or personal preference.
- Crowd-Pleaser: Even those who claim not to like cheesecake won’t be able to resist these mini delights, as demonstrated by the nephew who secretly devoured three.
- Make-Ahead Friendly: Prepare these mini cheesecakes ahead of time by adding toppings just before serving to maintain the perfect texture.
- Customizable: Allow guests to customize their mini cheesecakes by offering various toppings, making them perfect for parties and gatherings.
- Perfect for All Occasions: Serve these mini cheesecakes at brunch with mimosas or as an after-dinner treat with coffee – they’re versatile and always a hit.
- Long-Lasting: Keep these mini cheesecakes in the fridge for up to four days or freeze them for up to two months, ensuring you always have a sweet treat on hand.
Ingredients for Vanilla Wafer Crust Mini Cheesecakes: Quick & Delicious Recipe
- 2 large eggs, at room temperature
- 16 ounces full-fat cream cheese, softened
- 1 teaspoon vanilla bean paste or vanilla extract
- ¾ cup granulated sugar
- 1 can cherry pie filling
- 15 vanilla wafer cookies
How to Make Vanilla Wafer Crust Mini Cheesecakes: Quick & Delicious Recipe
Step 1: Prepare pans
Preheat oven to 350°F. Line 15 mini muffin cups with paper liners. Place one vanilla wafer cookie at the bottom of each liner for a crust.
Step 2: Make cheesecake batter
In a large mixing bowl, beat softened cream cheese until smooth. Gradually add sugar on low speed, then increase to medium speed and beat for one minute until well combined.
Step 3: Add eggs and vanilla
Add eggs one by one, beating well after each addition until just incorporated. Stir in the vanilla bean paste or extract until just combined, being careful not to overmix.
Step 4: Fill and bake
Scoop the cheesecake mixture into the prepared cups, filling each about ¾ full. Bake for 20-22 minutes until edges are set but centers slightly jiggle.
Step 5: Cool properly
Take the pans out of the oven and allow the cheesecakes to cool completely in the pans at room temperature. Refrigerate for a minimum of 2 hours until well chilled.
Step 6: Add topping and serve
Transfer mini cheesecakes to a serving platter, top each with cherry pie filling, and serve immediately or refrigerate until ready to serve.
📌 Pin for later!
Storage Tips
After making these mini cheesecakes, you can store them in the refrigerator for about four days. To keep them fresh, it’s best to store them without the topping until you are ready to serve. This helps maintain the texture and prevents the cheesecakes from getting soggy. Simply add the cherry pie filling or any other topping just before serving to enjoy them at their best.
For longer storage, you can freeze the mini cheesecakes without the topping in an airtight container for up to two months. When you want to enjoy them, thaw the cheesecakes overnight in the refrigerator and then add the desired topping before serving. This method allows you to have a batch of these delicious mini cheesecakes on hand for a special treat whenever you crave them, extending the enjoyment of this easy and versatile dessert.
Ingredient Substitutions
If you’re looking to make a healthier version of these mini cheesecakes, you can try using reduced-fat cream cheese instead of full-fat. This substitution can help lower the calorie and fat content while still maintaining a creamy texture. Additionally, you can experiment with using a sugar substitute like stevia or erythritol in place of granulated sugar for a lower-sugar option.
For a different flavor profile, consider swapping out the cherry pie filling with other fruit toppings such as blueberry, raspberry, or strawberry preserves. You can also get creative with different cookie bases by using graham crackers, chocolate wafers, or even coconut macaroons in place of the vanilla wafers for unique variations of these mini cheesecakes. Experimenting with different flavors and ingredients can add a fun twist to this simple and versatile recipe.
Serving Suggestions
These mini cheesecakes with a vanilla wafer crust are a versatile treat that can be customized in numerous ways. For a fun serving idea, create a cheesecake bar at your next gathering where guests can add their own toppings like fresh berries, chocolate drizzle, or crushed nuts. The interactive element will make your dessert table a hit and allow everyone to tailor their mini cheesecakes to their liking.
Another creative serving suggestion is to turn these mini cheesecakes into a stunning dessert platter by arranging them on a tiered cake stand. Add a touch of elegance by garnishing each cheesecake with a fresh cherry on top or a dusting of powdered sugar. This presentation is perfect for special occasions or when you want to impress your guests with a beautiful display of individual desserts.
FAQs for Vanilla Wafer Crust Mini Cheesecakes: Quick & Delicious Recipe
Can I use low-fat cream cheese instead of full-fat cream cheese?
It’s best to stick with full-fat cream cheese for this recipe to ensure the cheesecakes have the right texture and richness. Low-fat cream cheese may result in a less creamy and slightly firmer cheesecake.
Can I substitute the cherry pie filling with another fruit topping?
Absolutely! You can customize the mini cheesecakes with your favorite fruit topping. Try using blueberry, strawberry, raspberry, or even a mixed berry compote for a delicious variation.
How can I prevent the cheesecakes from cracking on top?
To prevent cracking, make sure not to overbake the mini cheesecakes. They are done when the edges are set, but the centers still have a slight jiggle. Additionally, you can try baking them in a water bath by placing the muffin tin in a larger pan filled with hot water during baking.
Can I make these mini cheesecakes ahead of time?
Yes, you can make these mini cheesecakes ahead of time. Store them in the refrigerator without the topping for up to four days. If you want to freeze them, do so without the topping in an airtight container for up to two months. Thaw them overnight in the fridge and add the topping before serving.
Conclusion
There you have it – Super Easy Mini Cheesecakes with Vanilla Wafer Crust, a recipe that never fails to impress and delight. Whether you’re a seasoned baker or a newbie in the kitchen, these little cheesecakes are sure to become a favorite in your repertoire. The convenience of the vanilla wafer crust and the endless possibilities for customization make them a go-to dessert for any occasion.
So go ahead, whip up a batch of these Super Easy Mini Cheesecakes with Vanilla Wafer Crust and watch them disappear in no time. Share them with your loved ones, bring them to gatherings, or simply indulge in them as a sweet treat just for yourself. With their charming presentation and delicious taste, these mini cheesecakes are bound to become a staple in your baking rotation. Enjoy every creamy, flavorful bite of these delightful little desserts!
📌 Pin for later!
Vanilla Wafer Crust Mini Cheesecakes: Quick & Delicious Recipe
Indulgent mini cheesecakes with a vanilla wafer crust – a simple, impressive dessert perfect for any occasion.
Prep Time10 Minutes
Cook Time22 Minutes
Total Time32 Minutes
CuisineAmerican
Skill LevelEasy
Servings15 Servings (15 mini cheesecakes)
Ingredients
- 2 large eggs, at room temperature
- 16 ounces full-fat cream cheese, softened
- 1 teaspoon vanilla bean paste or vanilla extract
- ¾ cup granulated sugar
- 1 can cherry pie filling
- 15 vanilla wafer cookies
Instructions
-
Prepare pans: Preheat oven to 350°F. Line 15 mini muffin cups with paper liners. Place one vanilla wafer cookie at the bottom of each liner for a crust.
-
Make cheesecake batter: In a large mixing bowl, beat softened cream cheese until smooth. Gradually add sugar on low speed, then increase to medium speed and beat for one minute until well combined.
-
Add eggs and vanilla: Add eggs one by one, beating well after each addition until just incorporated. Stir in the vanilla bean paste or extract until just combined, being careful not to overmix.
-
Fill and bake: Scoop the cheesecake mixture into the prepared cups, filling each about ¾ full. Bake for 20-22 minutes until edges are set but centers slightly jiggle.
-
Cool properly: Take the pans out of the oven and allow the cheesecakes to cool completely in the pans at room temperature. Refrigerate for a minimum of 2 hours until well chilled.
-
Add topping and serve: Transfer mini cheesecakes to a serving platter, top each with cherry pie filling, and serve immediately or refrigerate until ready to serve.